Proxmox
Deploy a Tillered node on Proxmox virtual environment
Proxmox VE is an open-source virtualization platform that supports both VMs and containers. This guide walks through deploying a Tillered node by booting the official Tillered ISO inside a Proxmox VM.
Prerequisites
- Have a Proxmox VE instance with internet access.
- Create an account on the Tillered Hub.
Setting Up a Tillered Node
- In the Proxmox web interface, select your storage (e.g. local) and navigate to ISO Images. Click Download from URL and enter the Tillered ISO URL:
https://installcdn.tillered.com/tillered-10.1-x86_64-boot.iso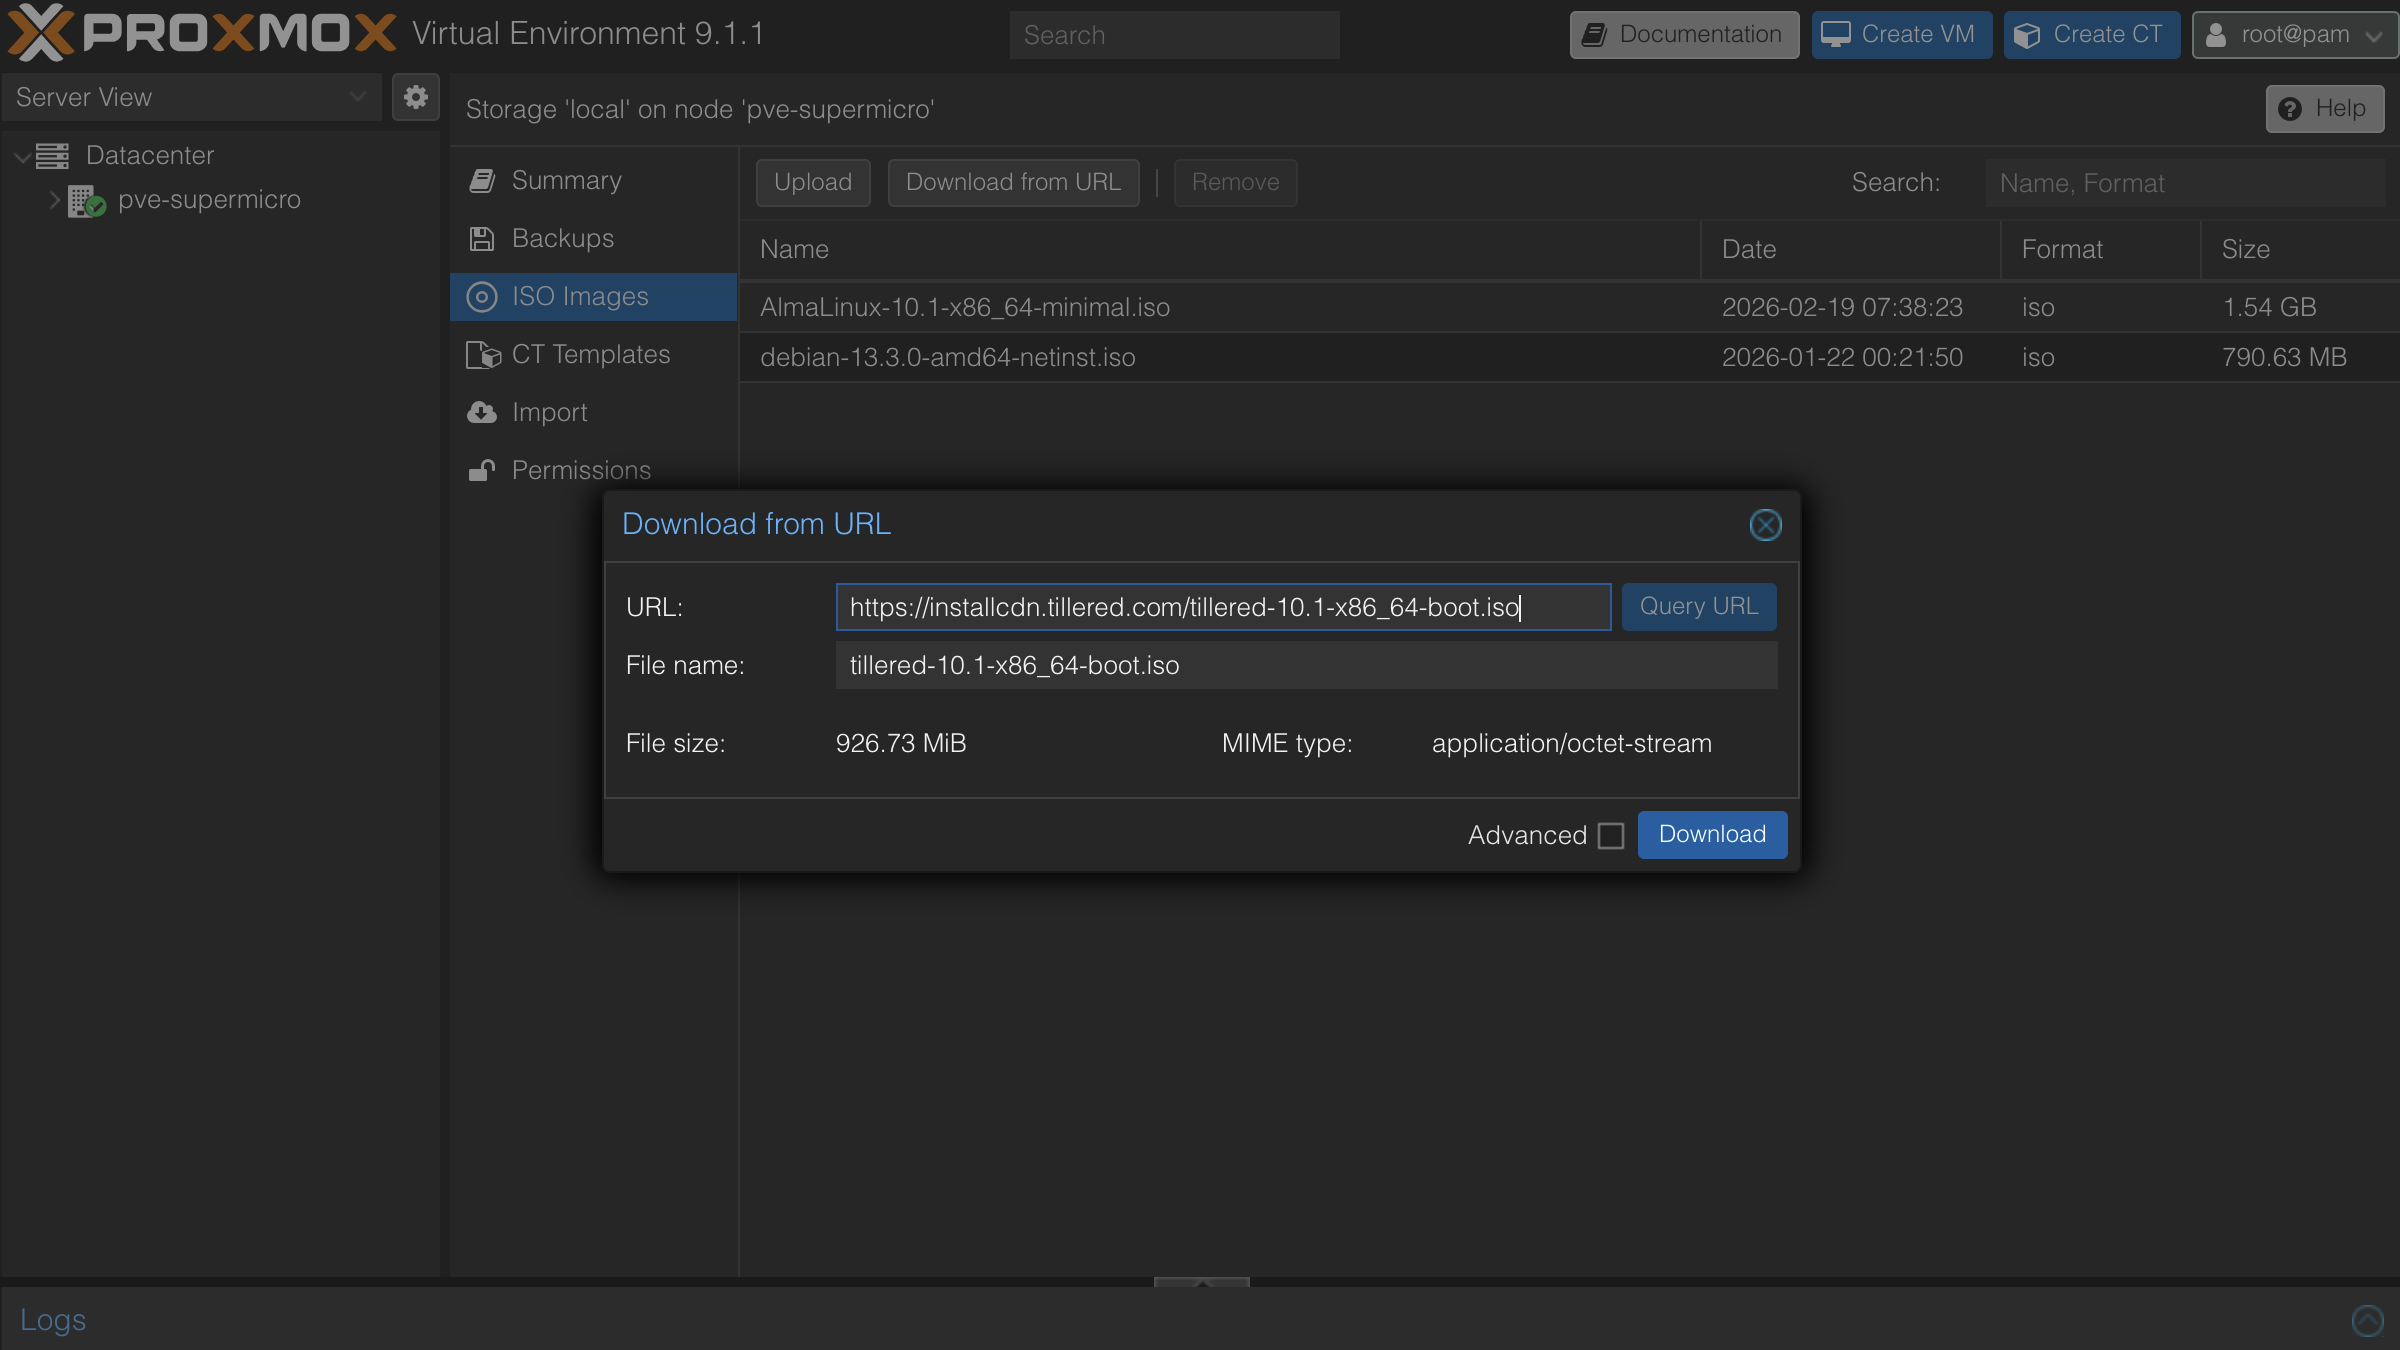
ISO downloads by architecture
| Architecture | URL |
|---|---|
| x86_64 | https://installcdn.tillered.com/tillered-10.1-x86_64-boot.iso |
| aarch64 | https://installcdn.tillered.com/tillered-10.1-aarch64-boot.iso |
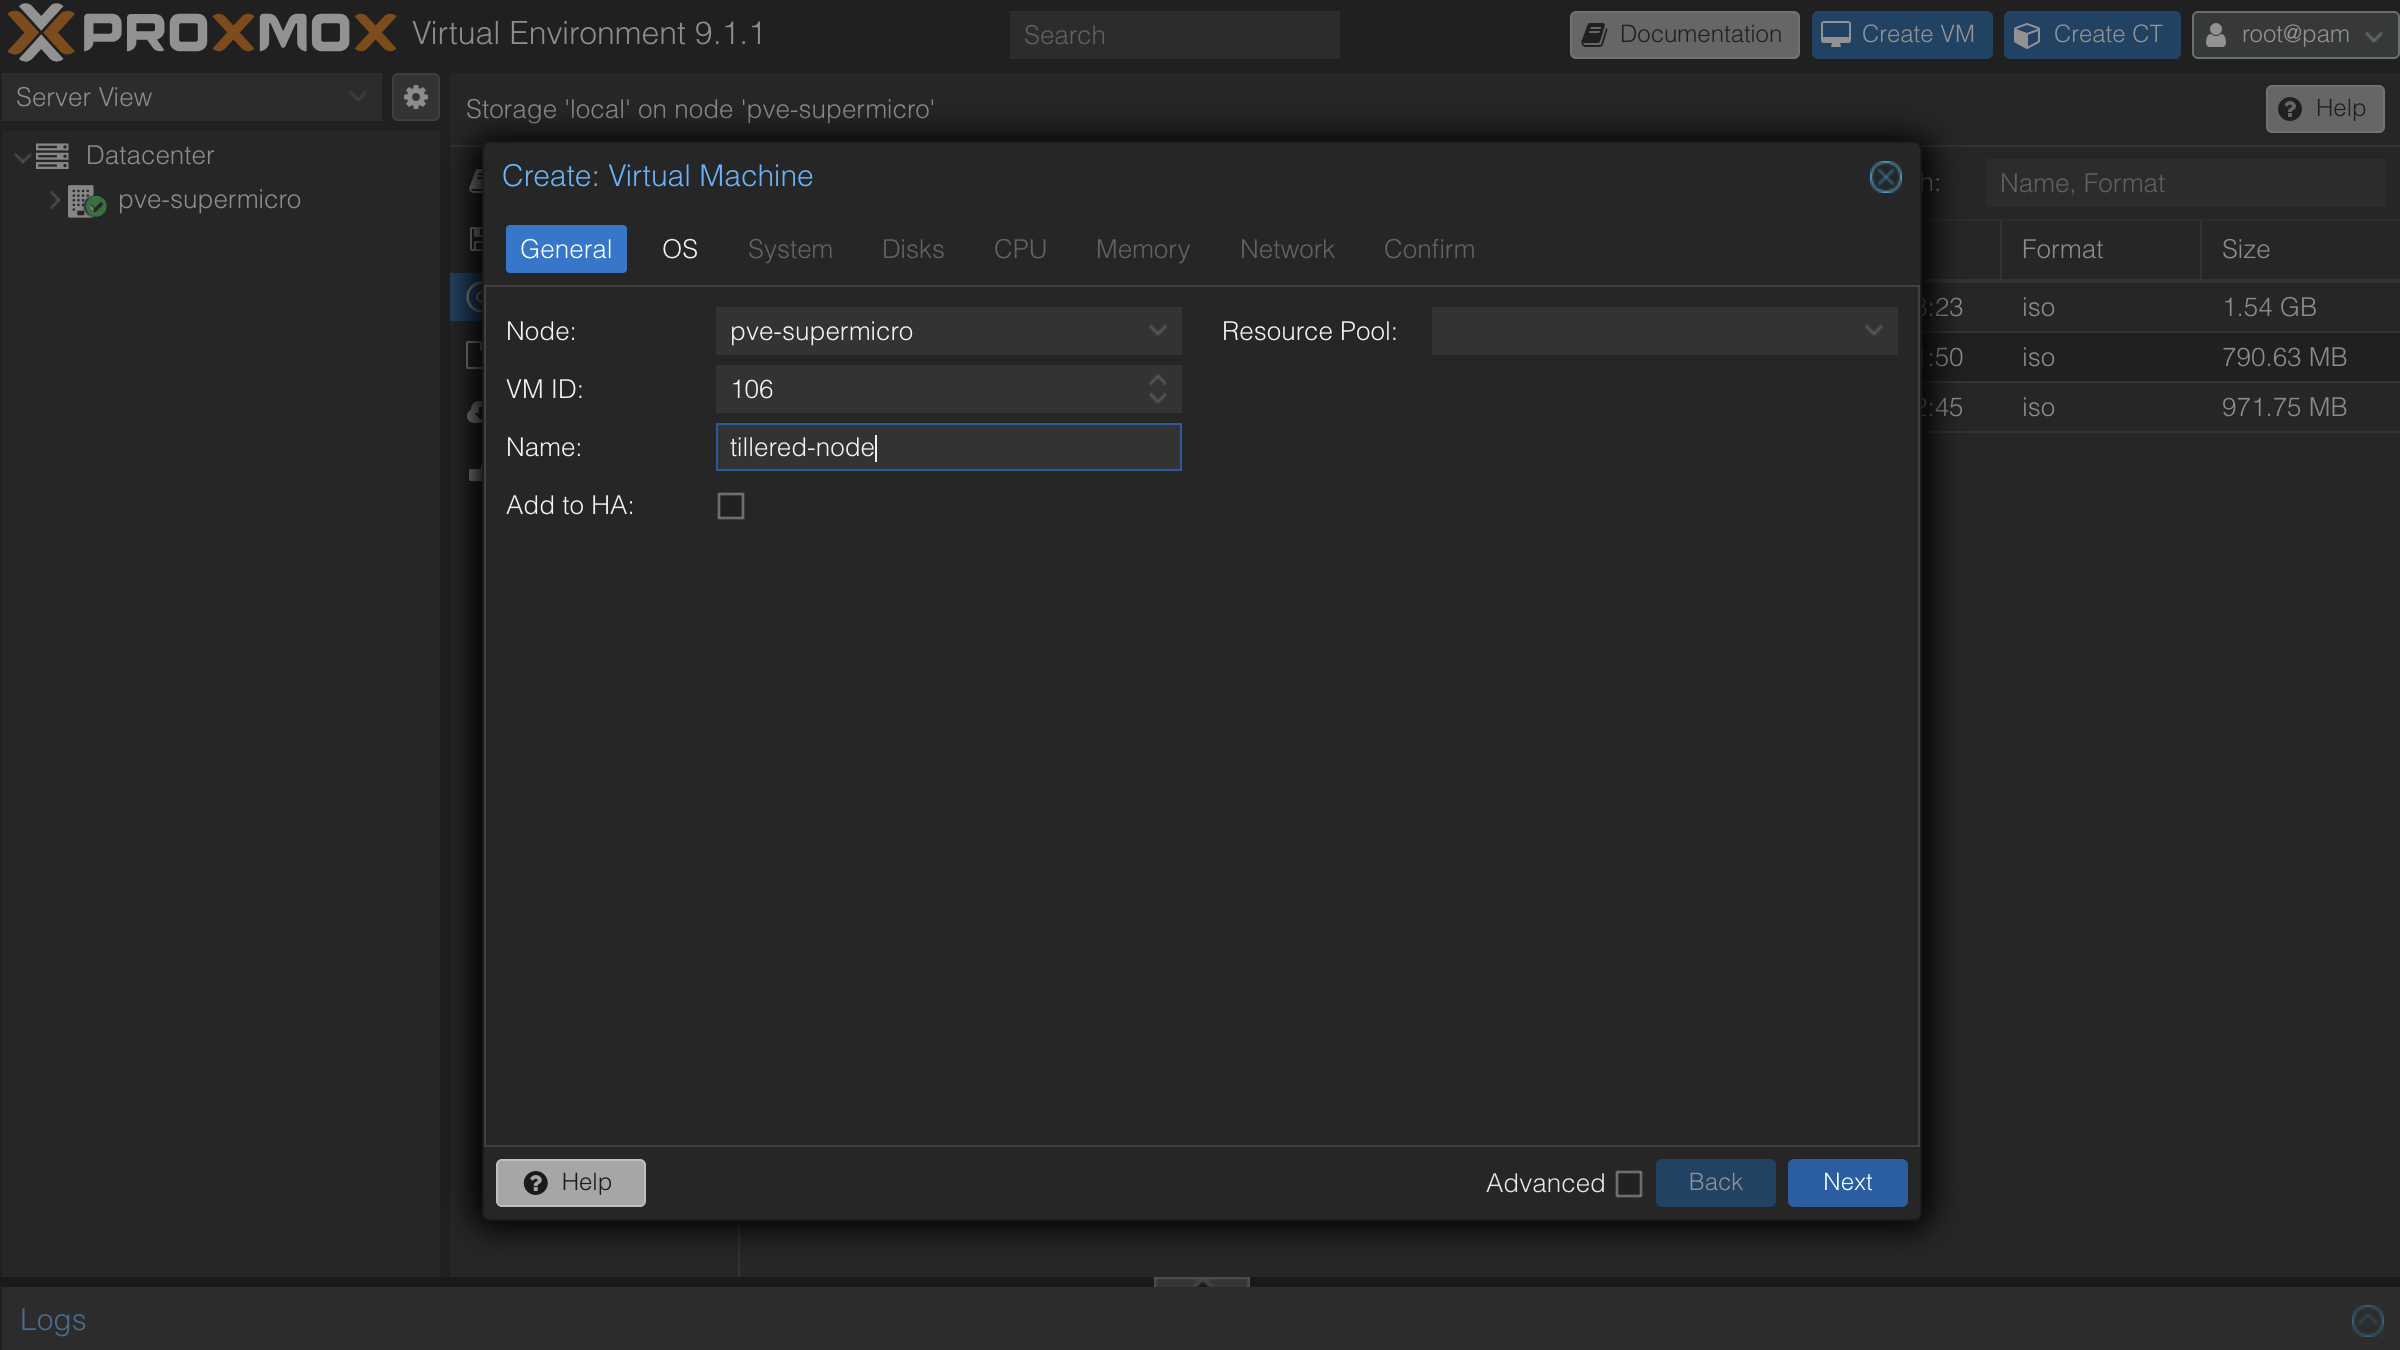
- Click Create VM in the top right corner of the Proxmox interface. On the General tab, give the VM a name and note the VM ID.
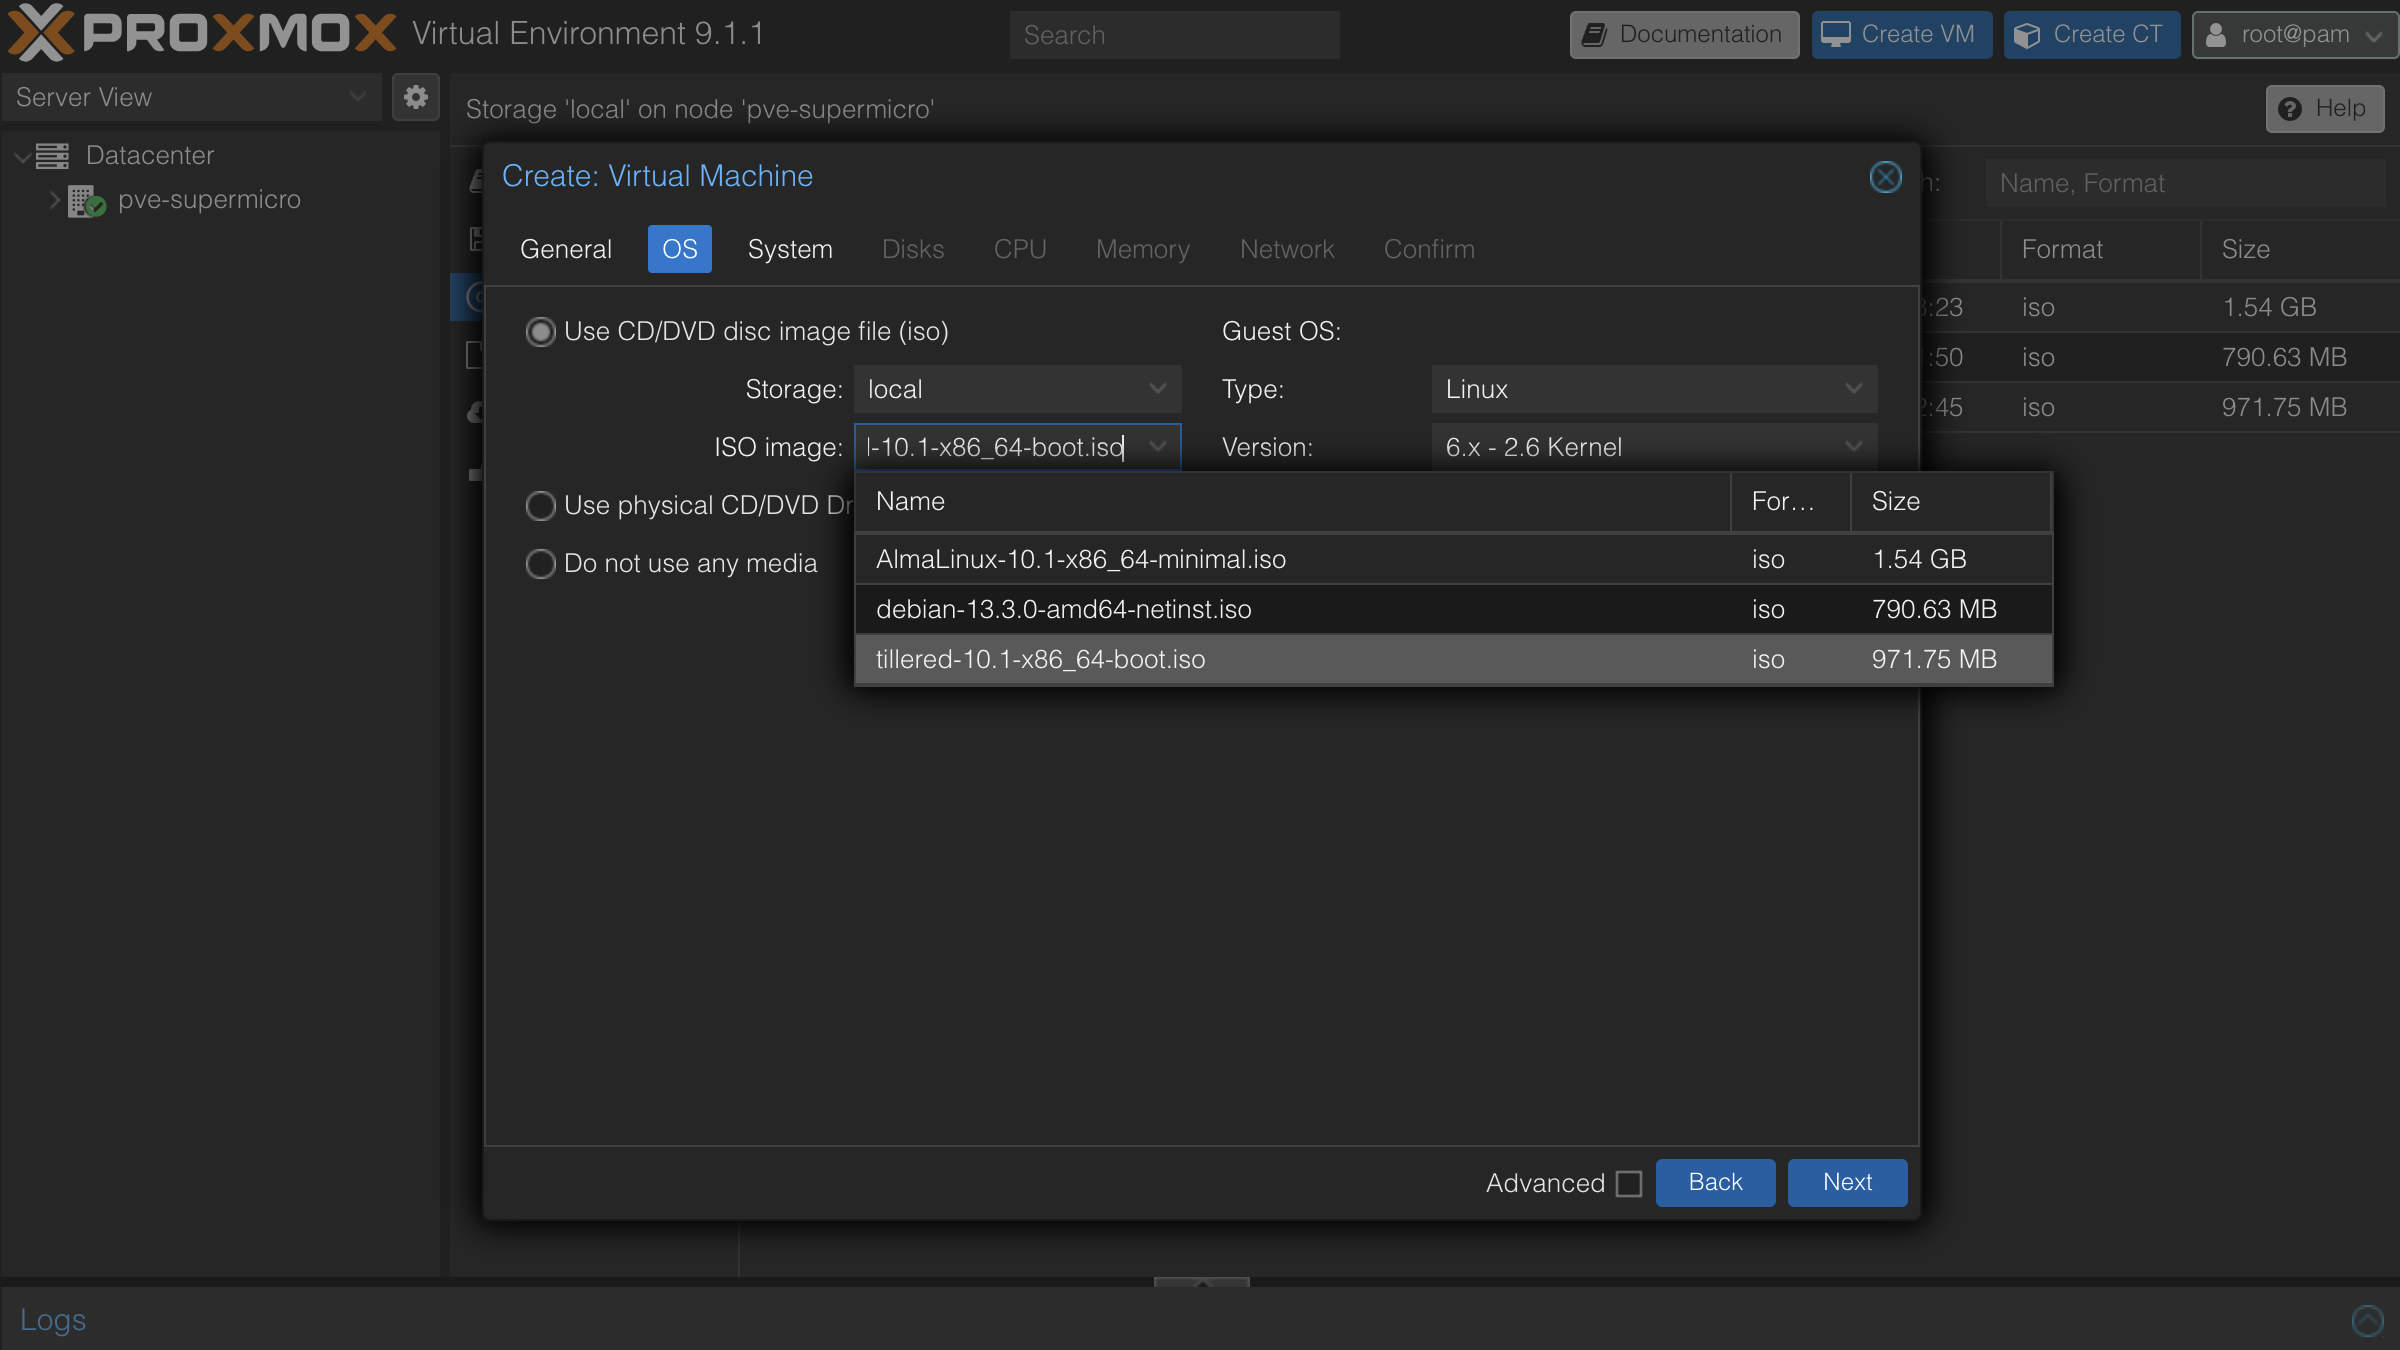
- On the OS tab, select the Tillered ISO you downloaded as the CD/DVD disc image.
- On the System tab, set Machine to
q35and BIOS toOVMF (UEFI). Tick Add TPM.
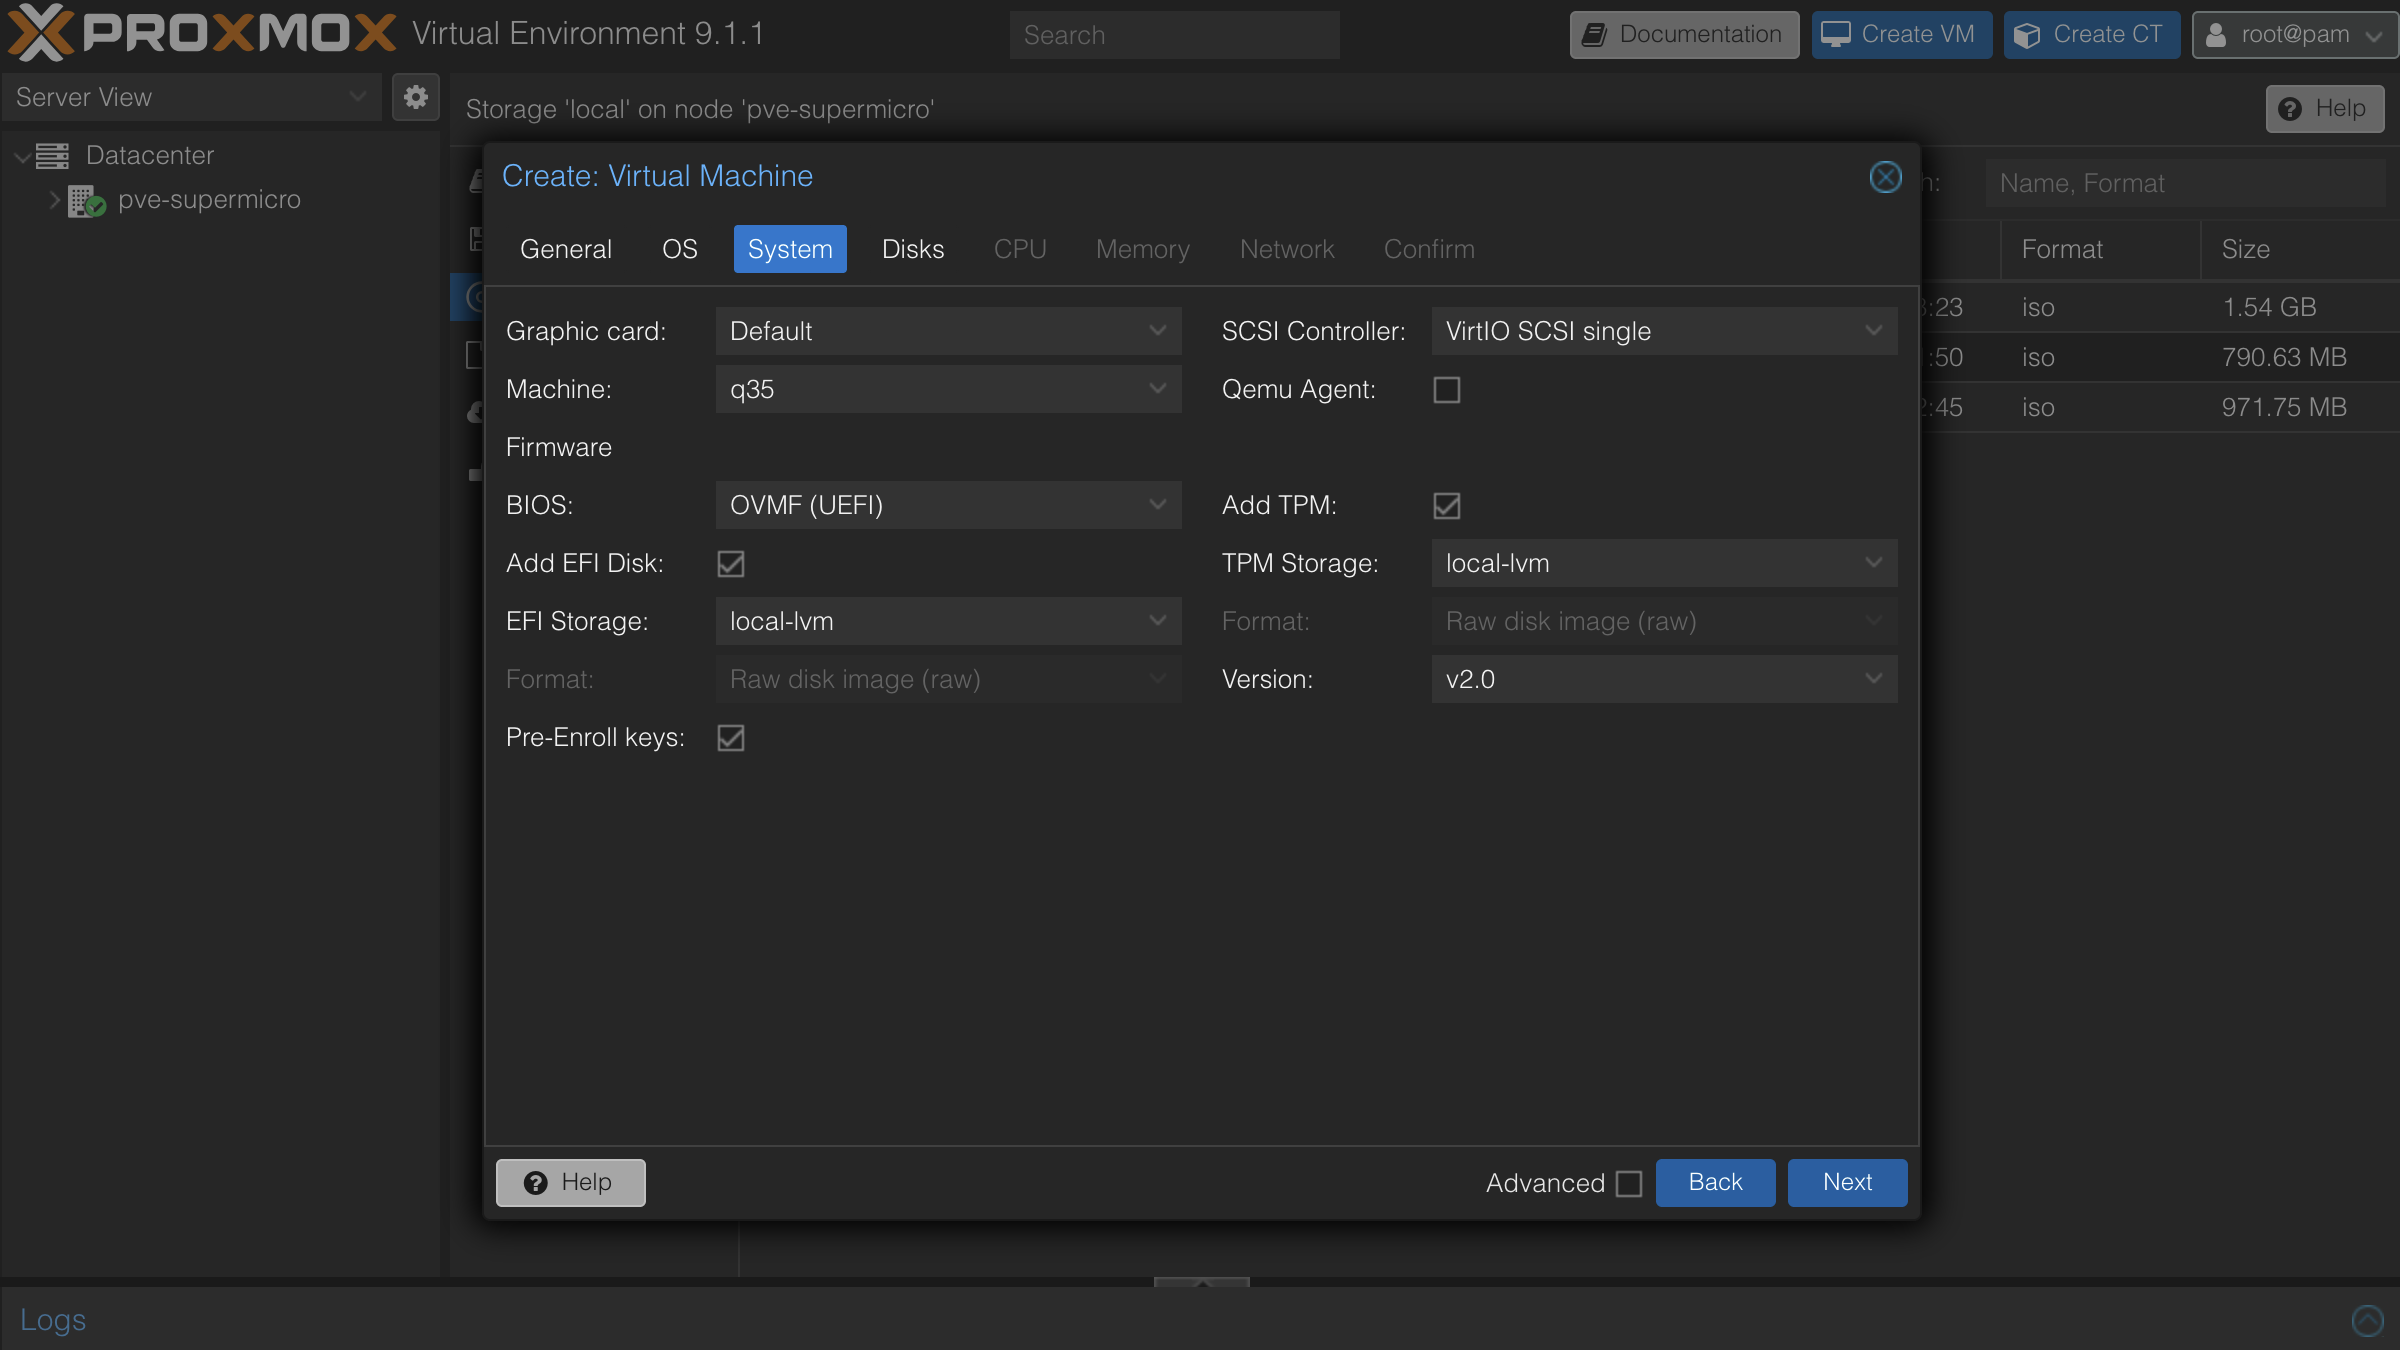
The machine type must be q35 and the BIOS must be OVMF (UEFI). The default values (i440fx and SeaBIOS) are not supported.
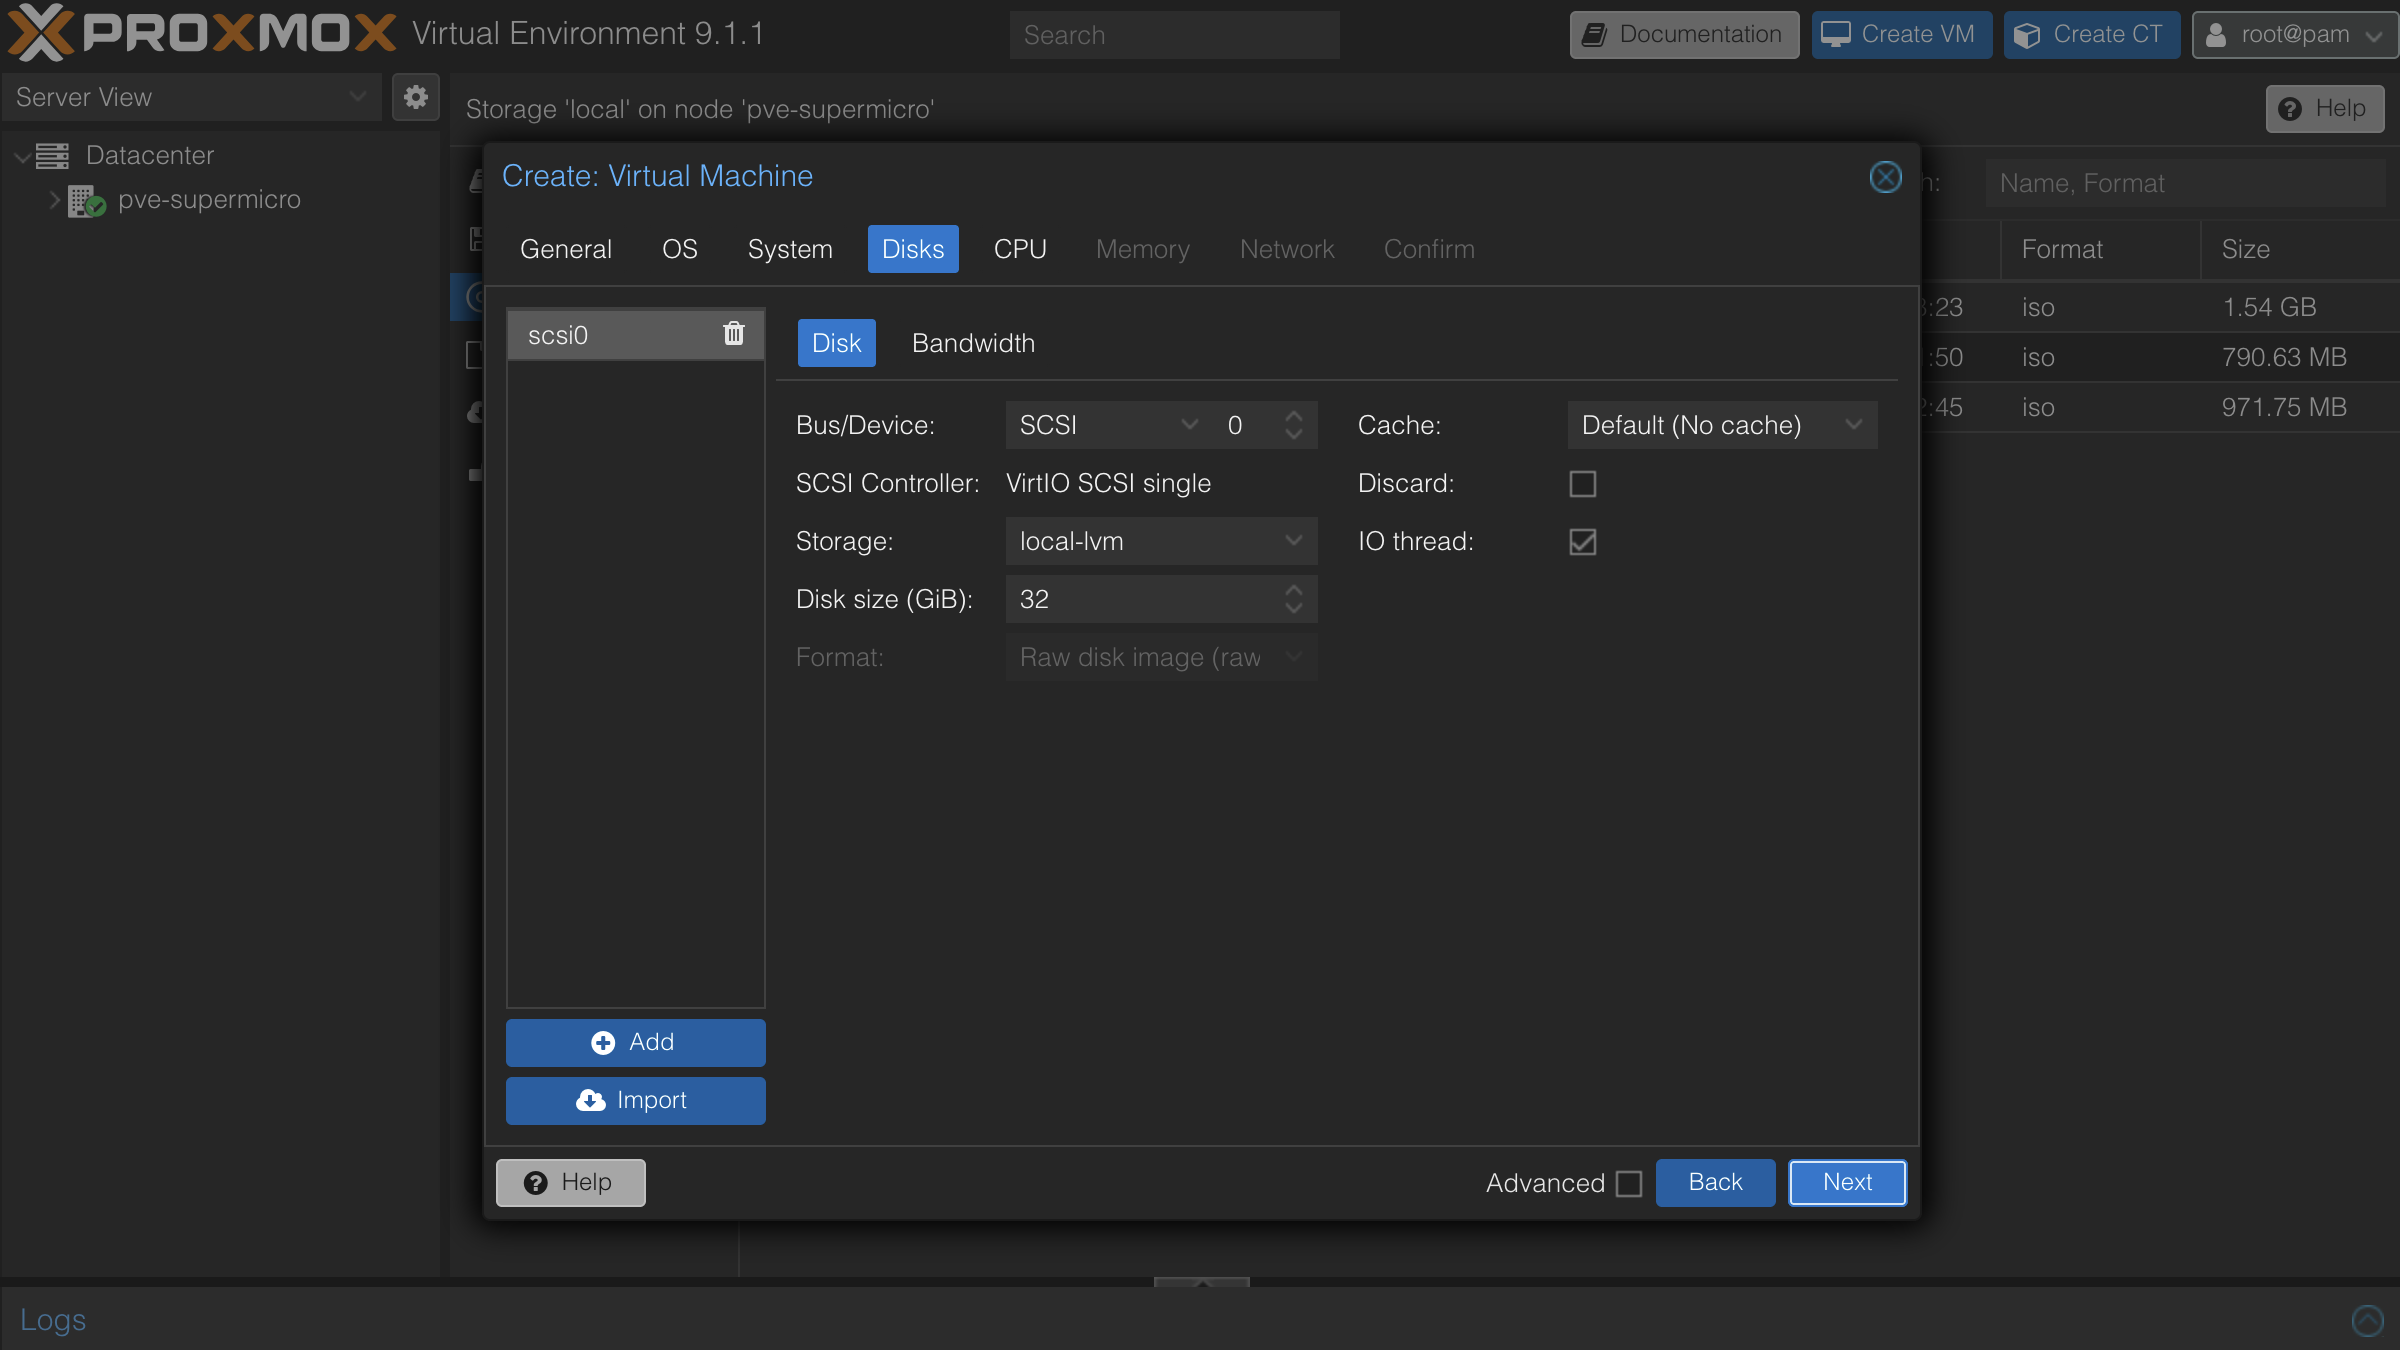
- On the Disks tab, keep the defaults.
- On the CPU tab, set Cores to
4and set Type tohost.
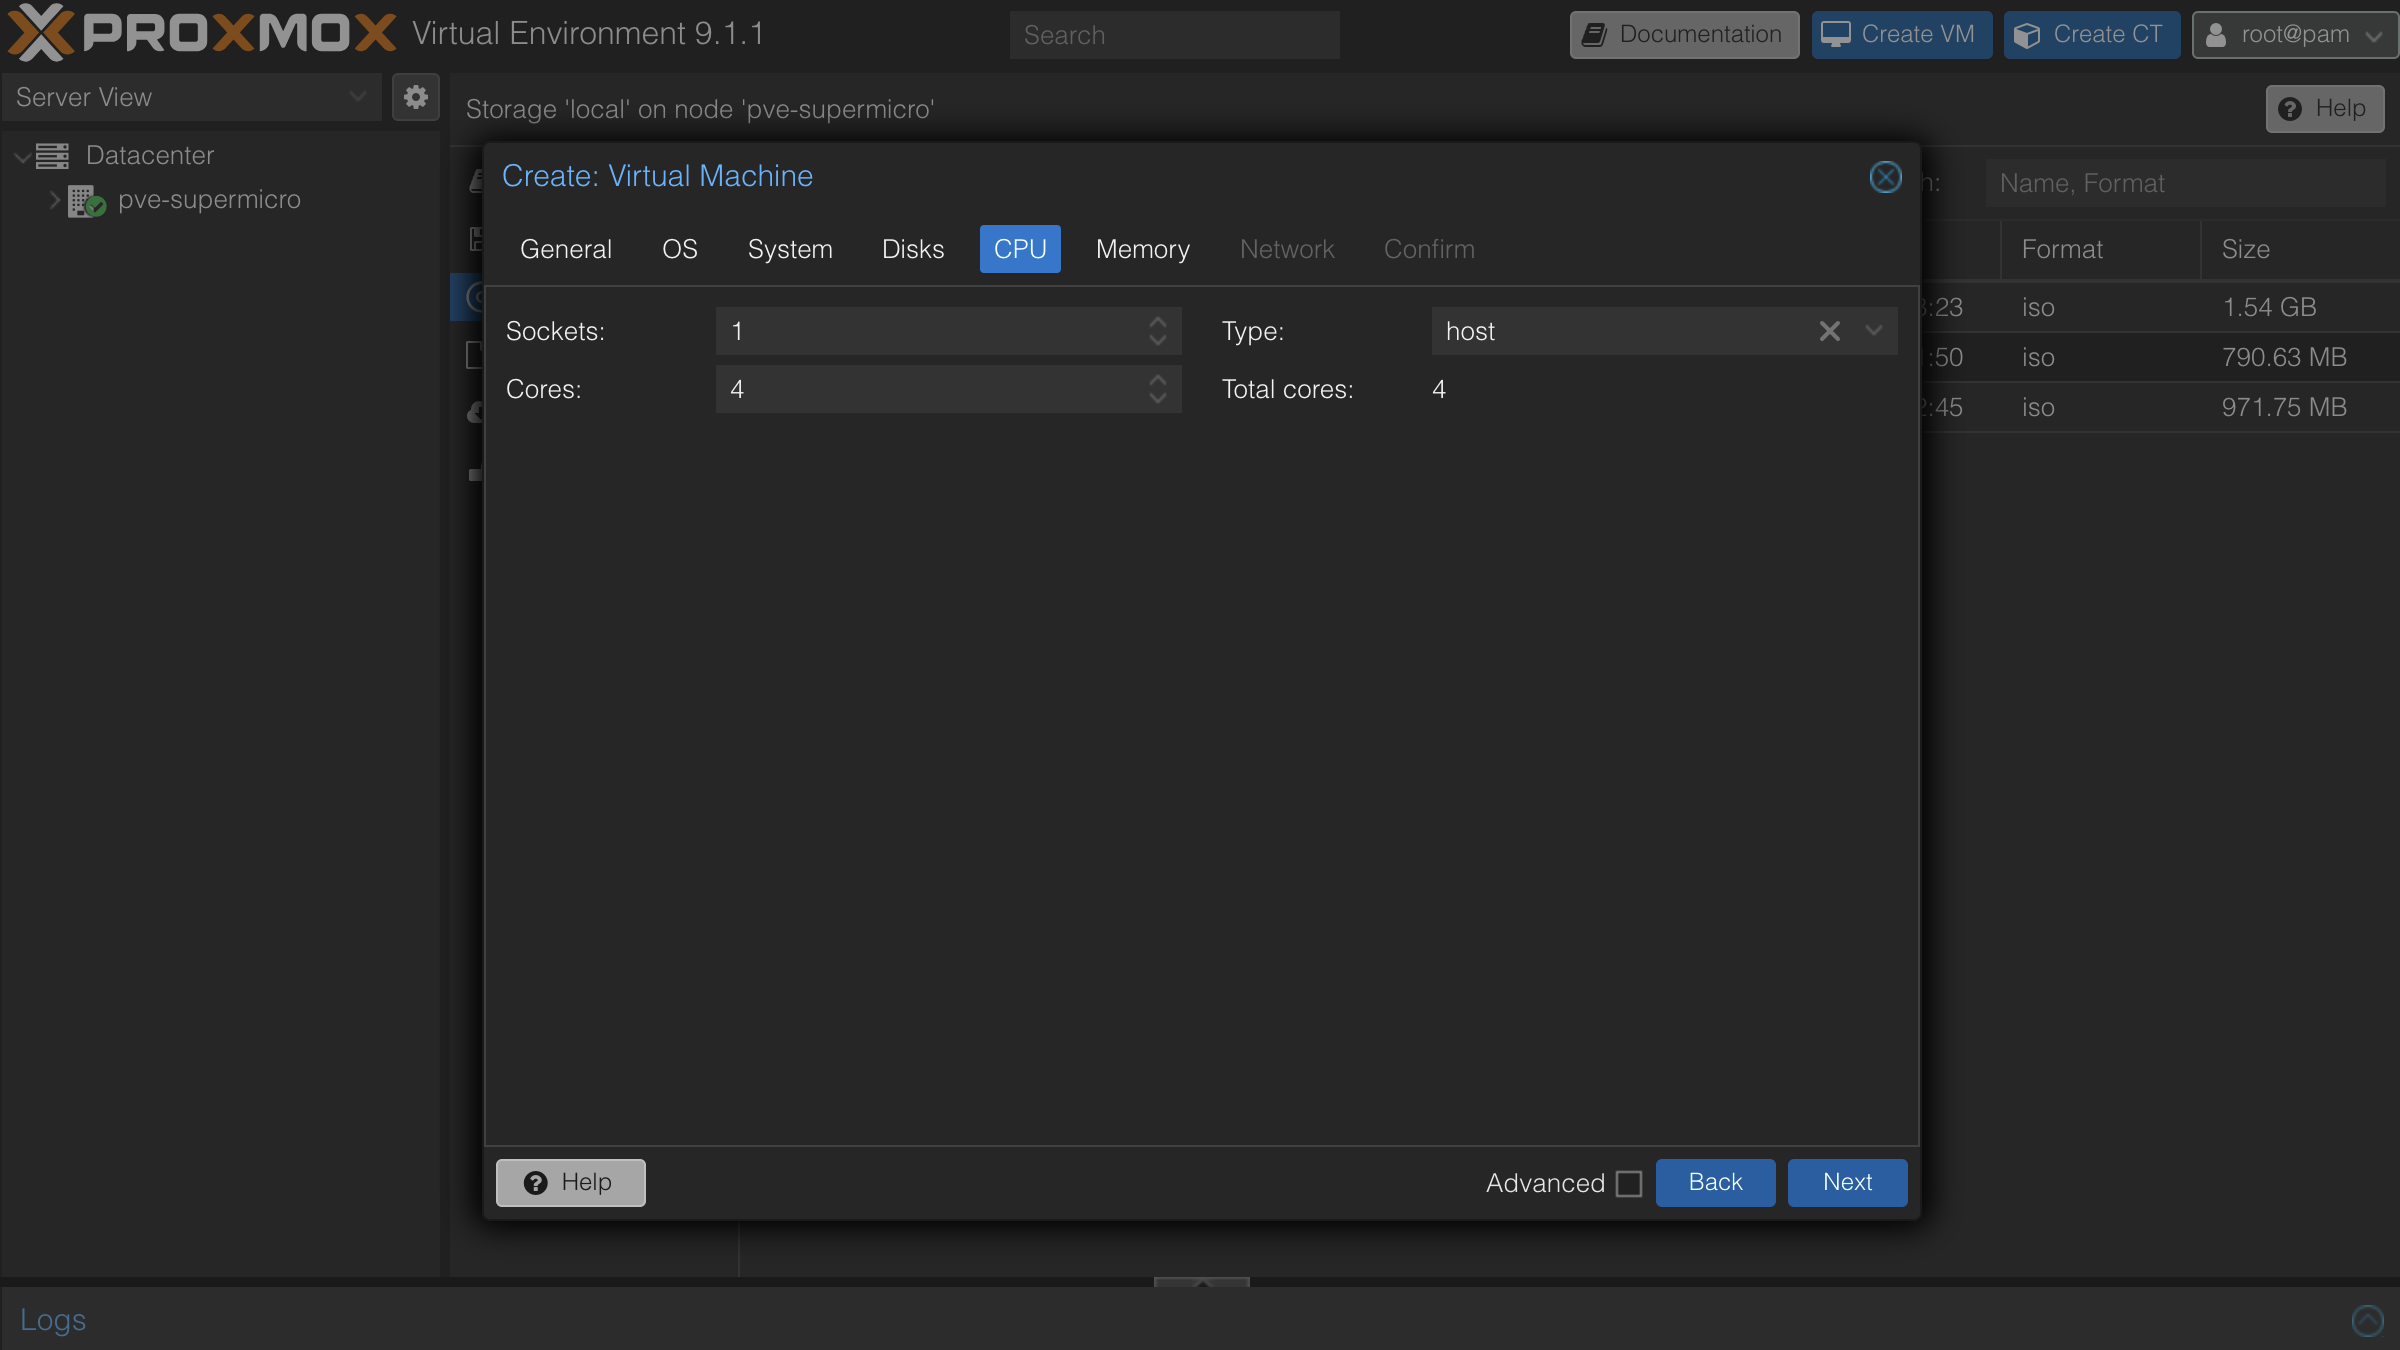
The CPU type must be set to host. The default x86-64-v2-AES type will prevent the image from booting.
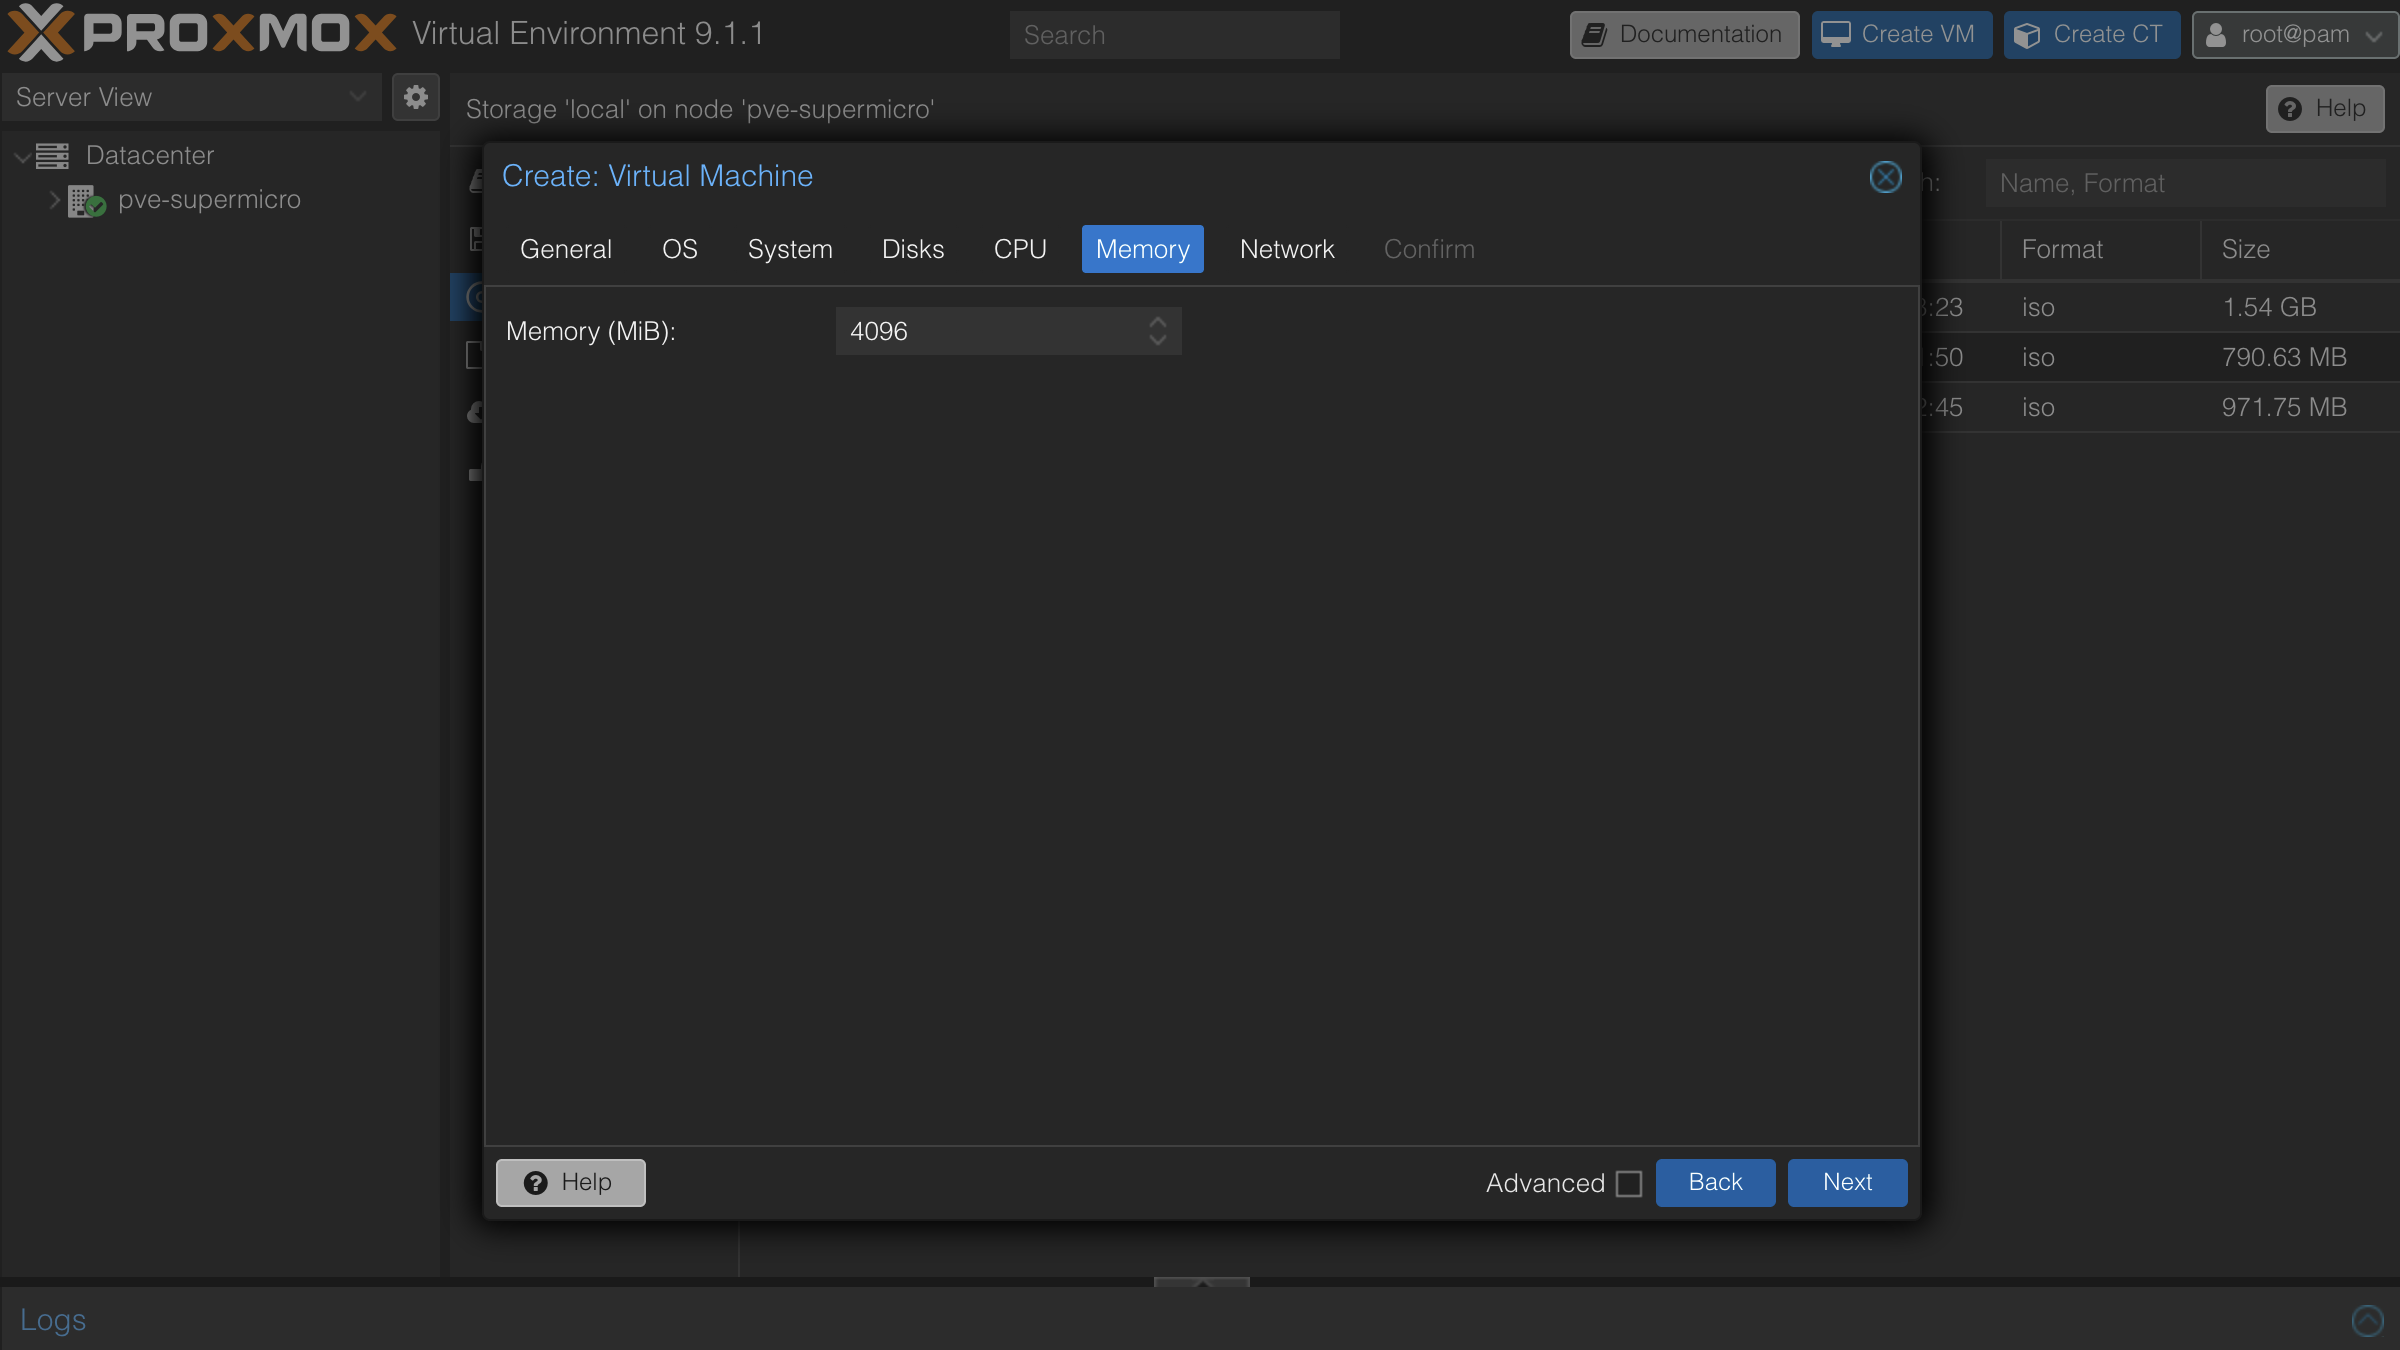
- On the Memory tab, set Memory (MiB) to
4096.
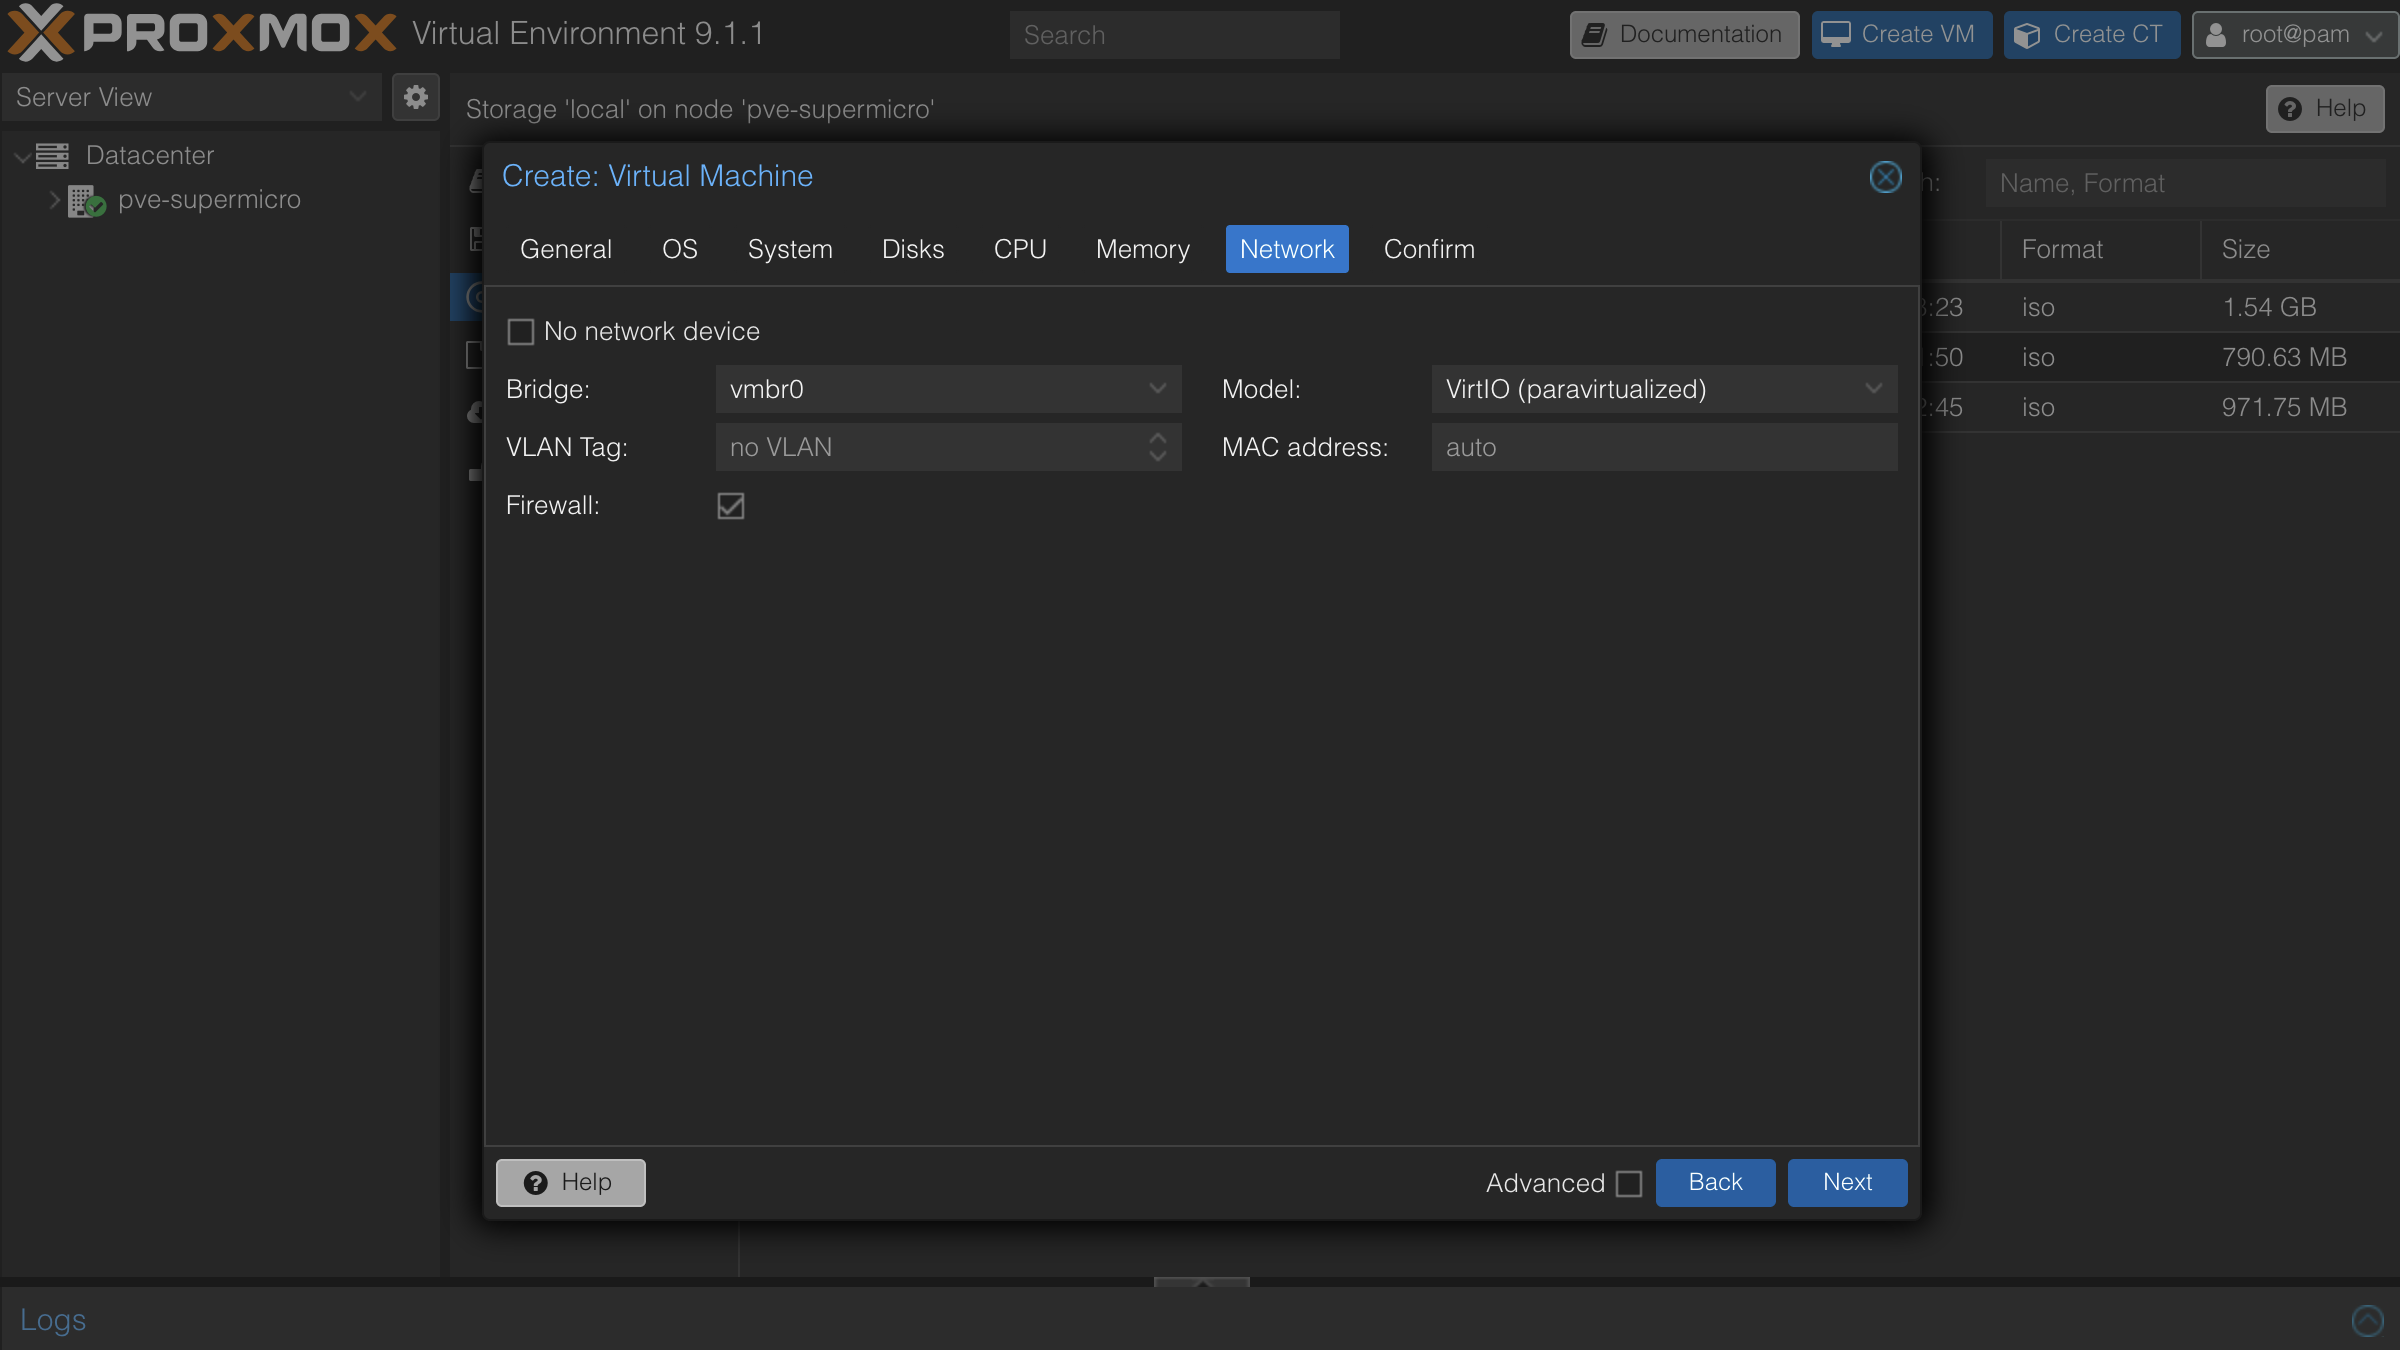
- On the Network tab, configure your network interface. If your DMZ is on a separate VLAN, set the VLAN tag; otherwise the default bridge is fine.
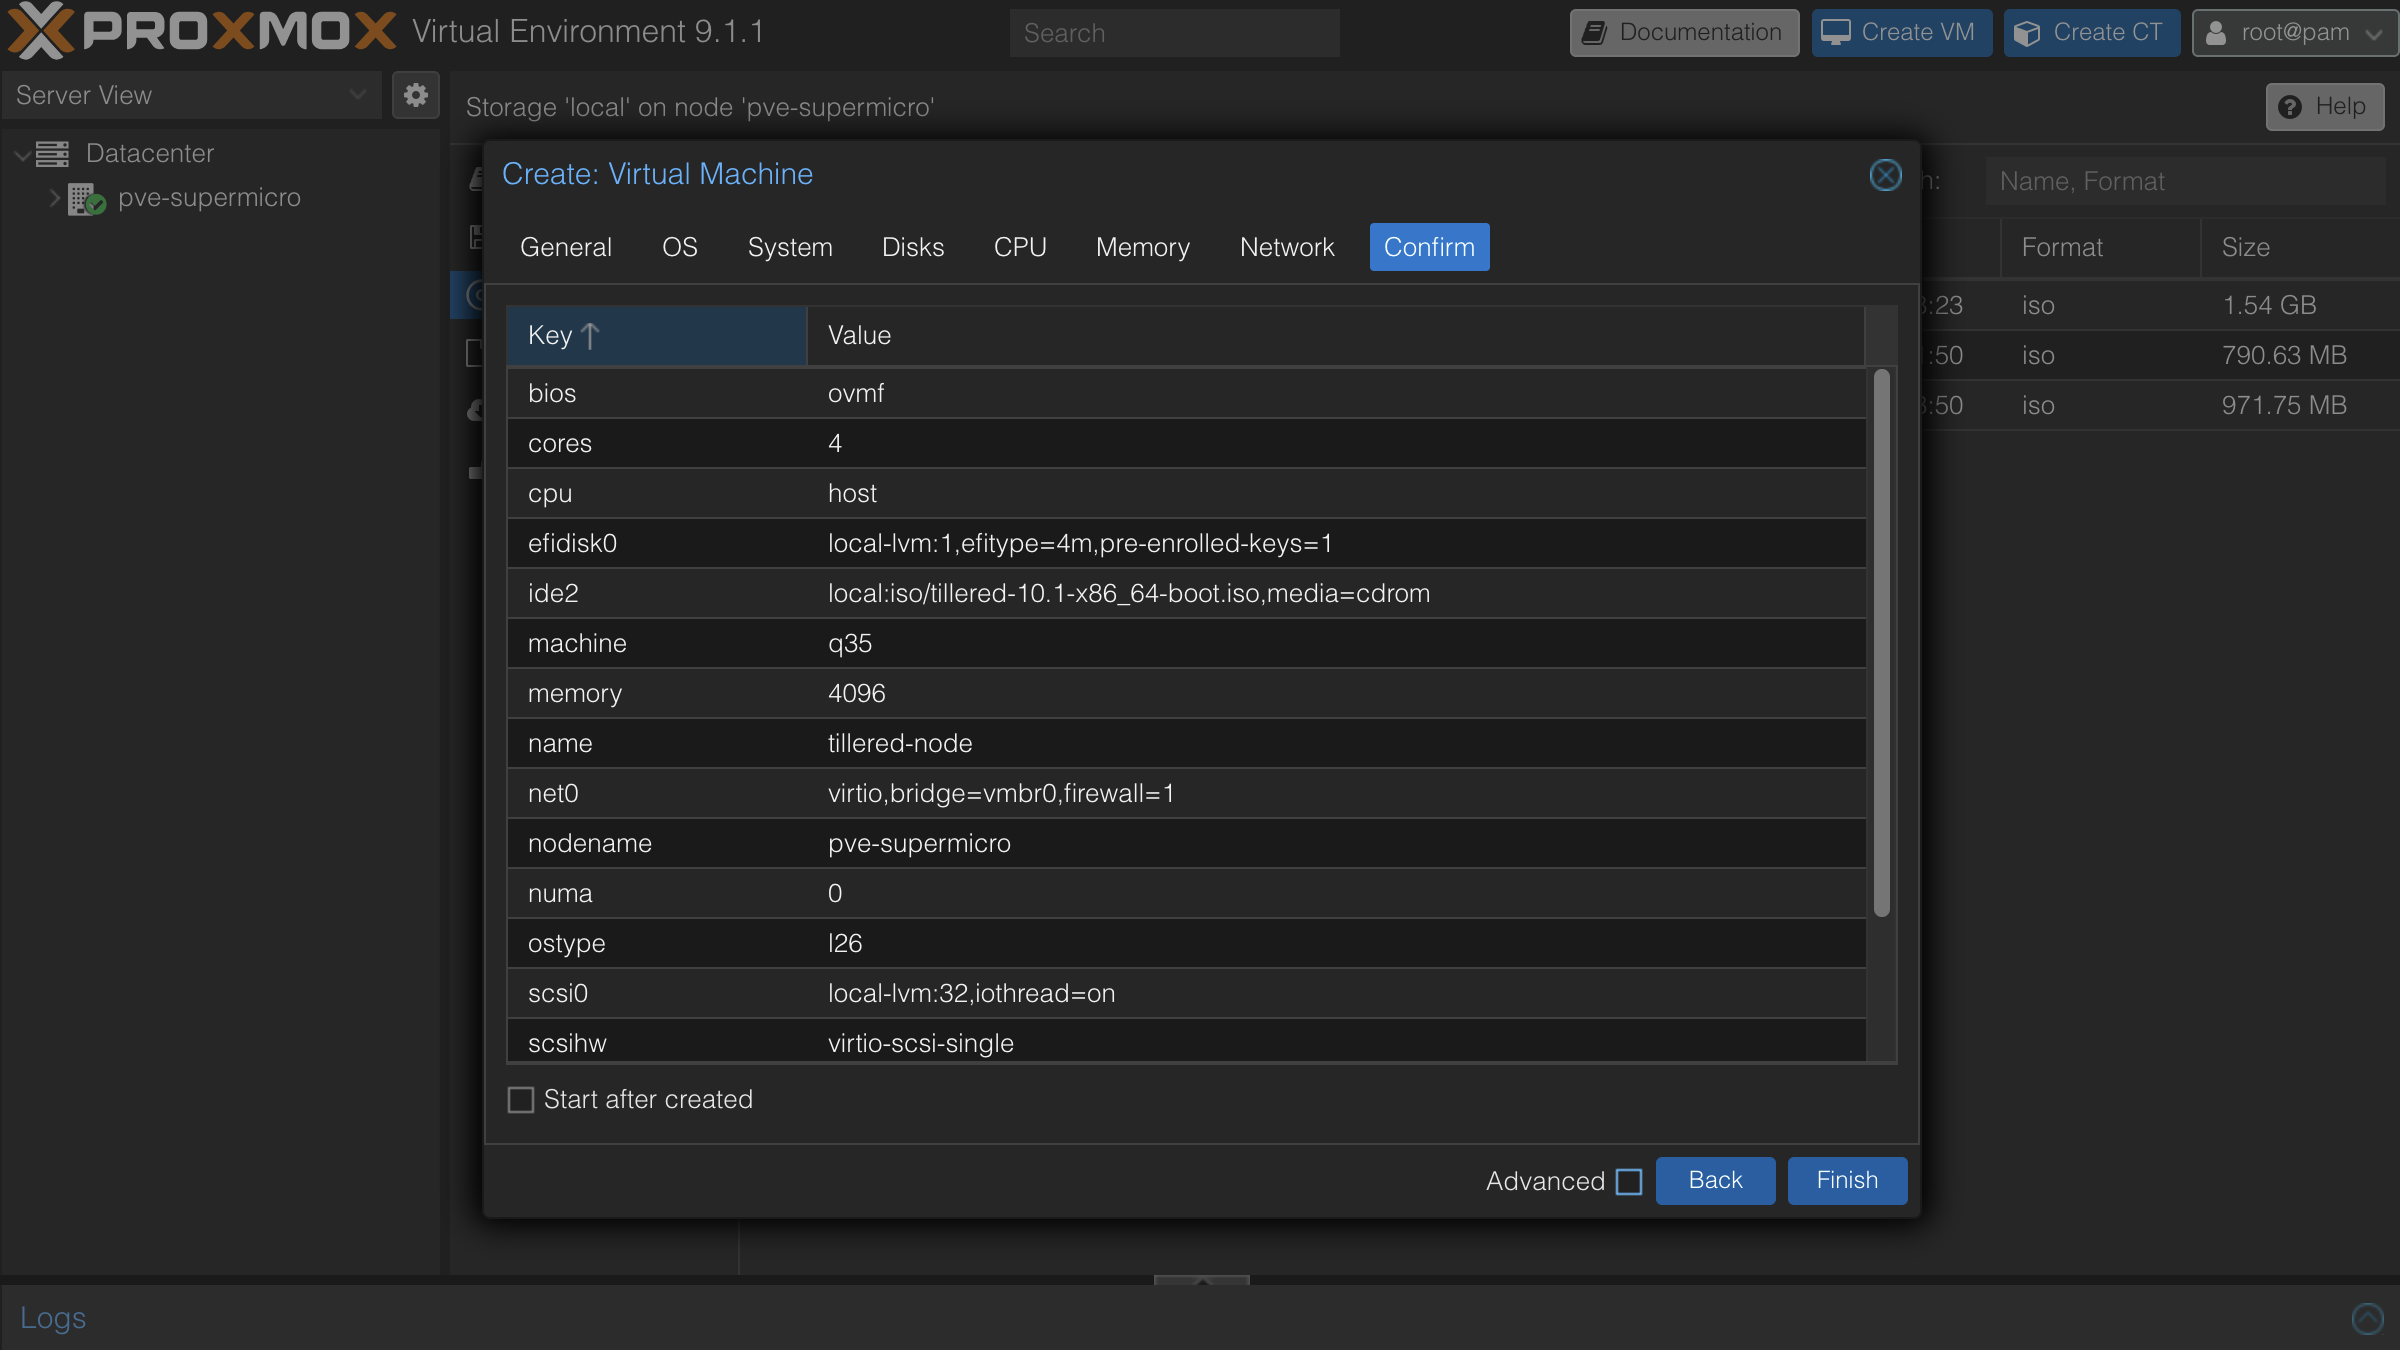
- Review the configuration summary and click Finish. Do not start the VM yet.
Attach VirtIO RNG
Before starting the VM, you need to attach a VirtIO RNG (random number generator) device. Without it, the VM can stall during first boot while generating SSH server keys due to insufficient entropy.
- Select the VM and go to the Hardware tab.
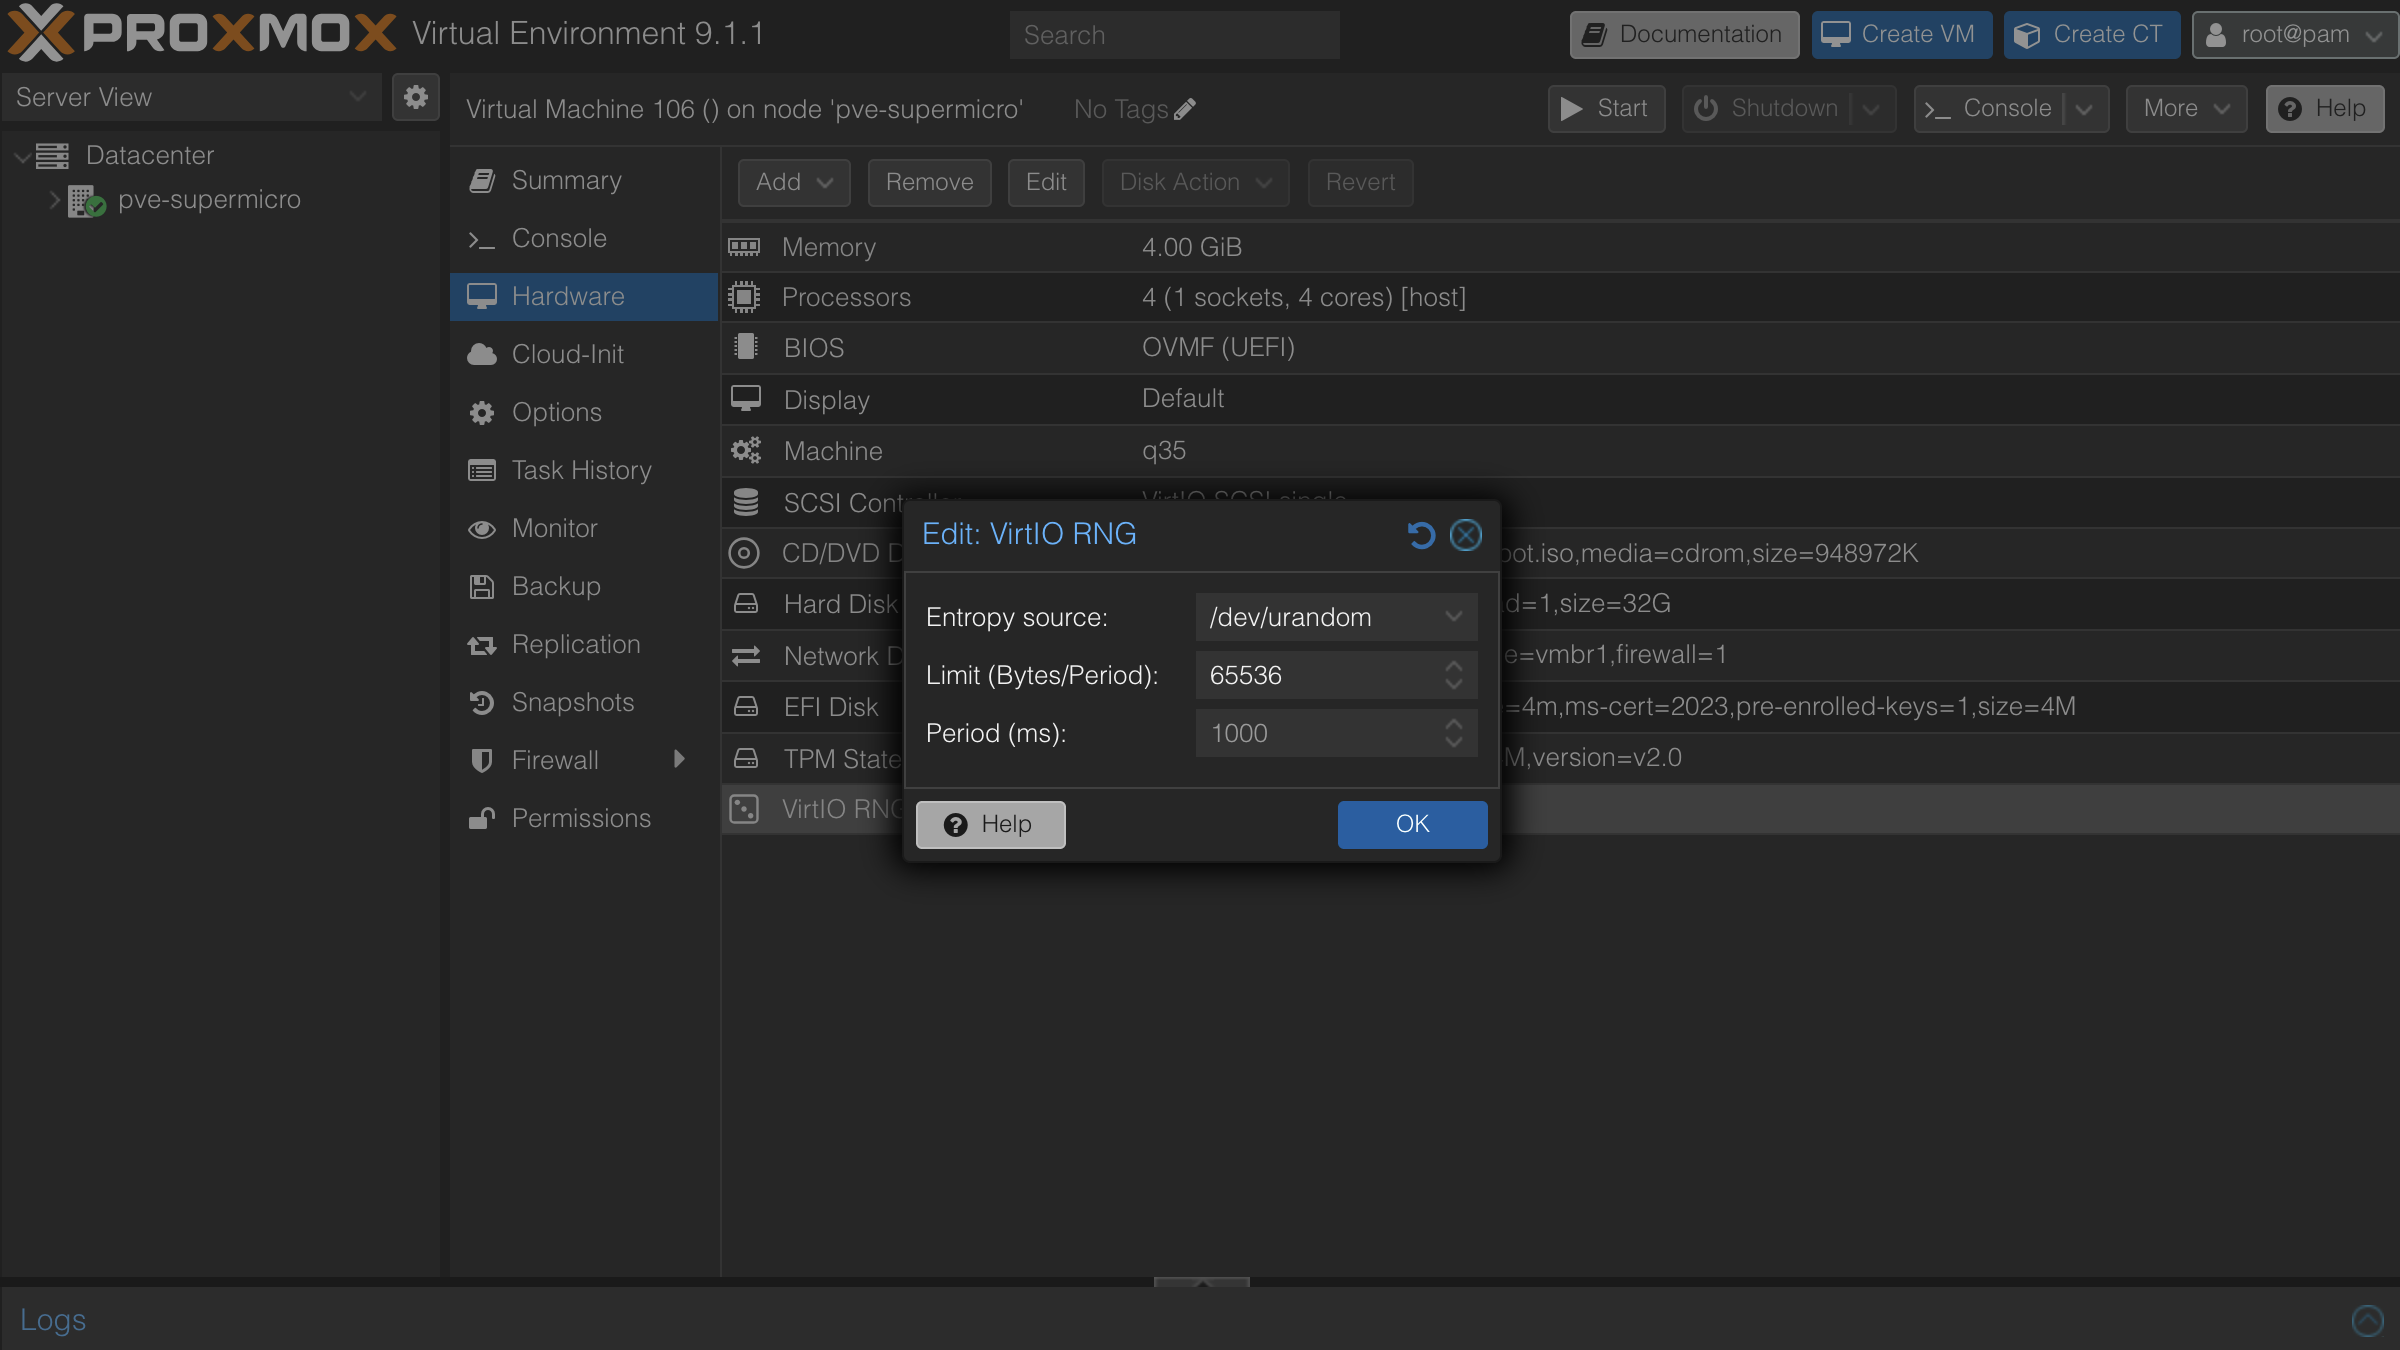
- Click Add and select VirtIO RNG.
- Set the Limit (bytes/period) to
65536and click Add.
If you have already started the VM and it appears stuck, stop the VM, attach the VirtIO RNG device as described above, then start it again.
Start the VM
Select the VM and click Start. The installation will complete automatically, taking around 5 minutes depending on your internet connection. The node is ready when the console displays:
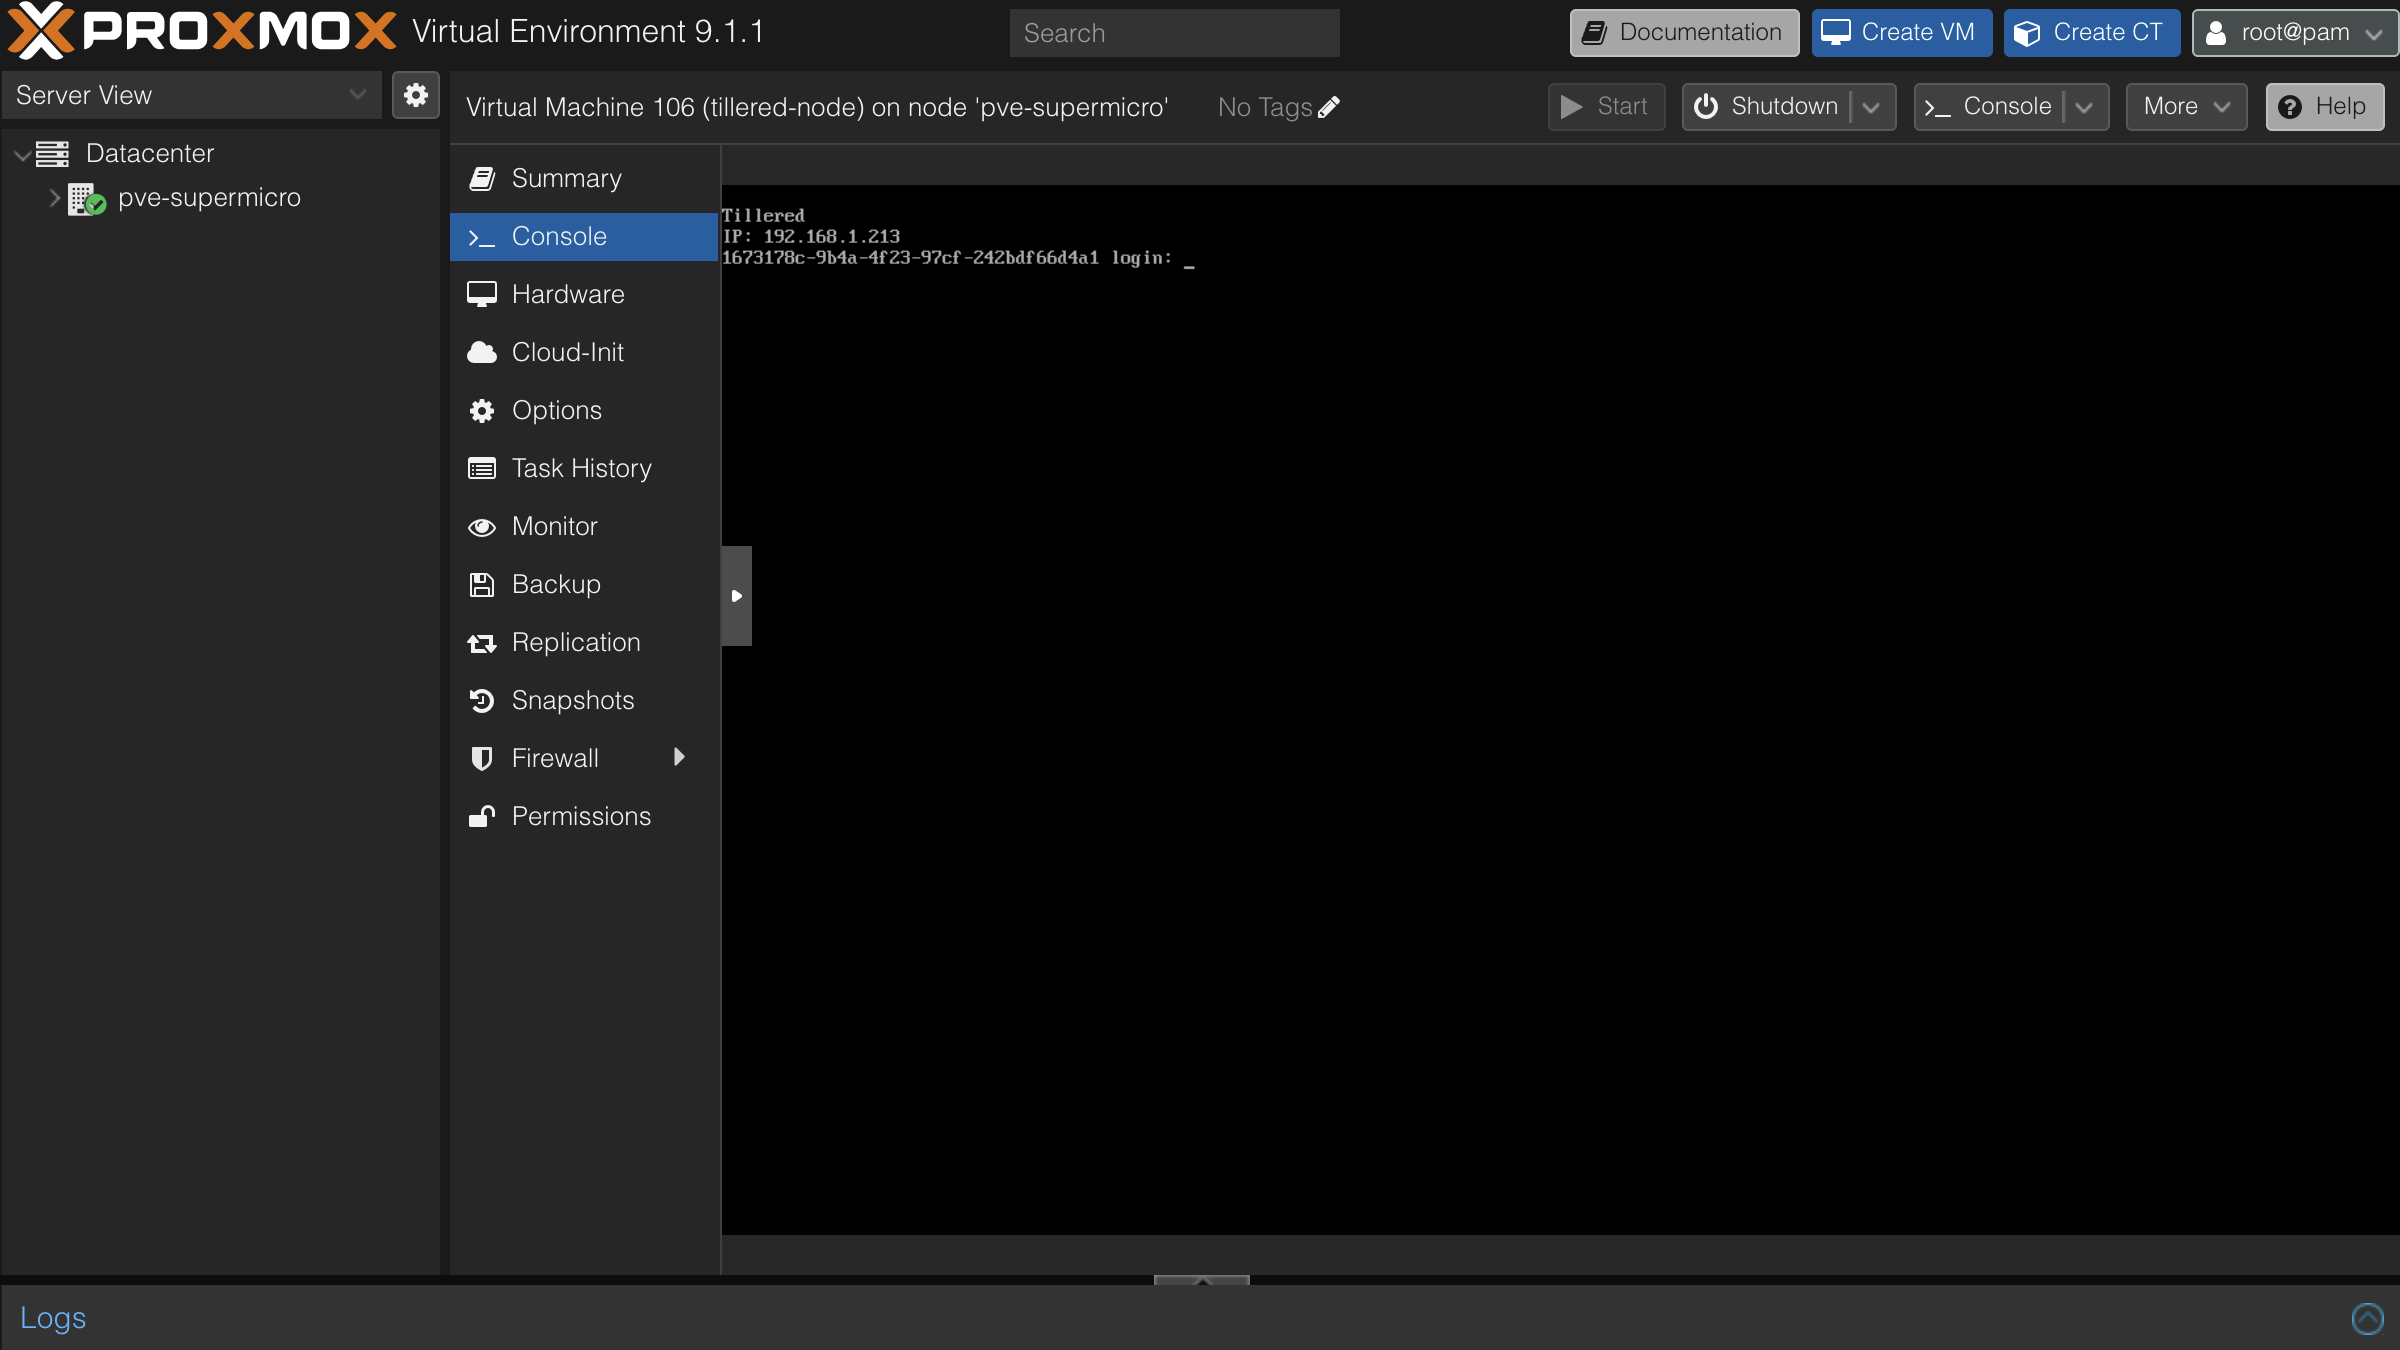
The node is now ready to add to your Tillered account on the Tillered Hub.
Register Your Node
After the VM finishes installing, register the node with your Tillered account. You will need the VM name and IP address shown on the console.
The node will configure itself to the virtual Tillered network. It may reboot during this phase, but it will be ready to use when the Tillered Hub node page shows the node as Provisioned.