Register a node
How to register a deployed Tillered node with your account through the Hub
After deploying a Tillered node on your chosen platform, you need to register it with your Tillered account through the Tillered Hub.
Before you start
Ensure you have:
- A deployed Tillered node that has finished its initial setup
- The node's instance identifier (varies by platform)
- The node's IP address (private or public, depending on your setup)
- A Tillered Hub account with an organisation (see Get started)
Create a network
If you do not have a network yet, create one first. See Network or Hub Networks.
Add a node
From your network page, click Add Node to begin registration.
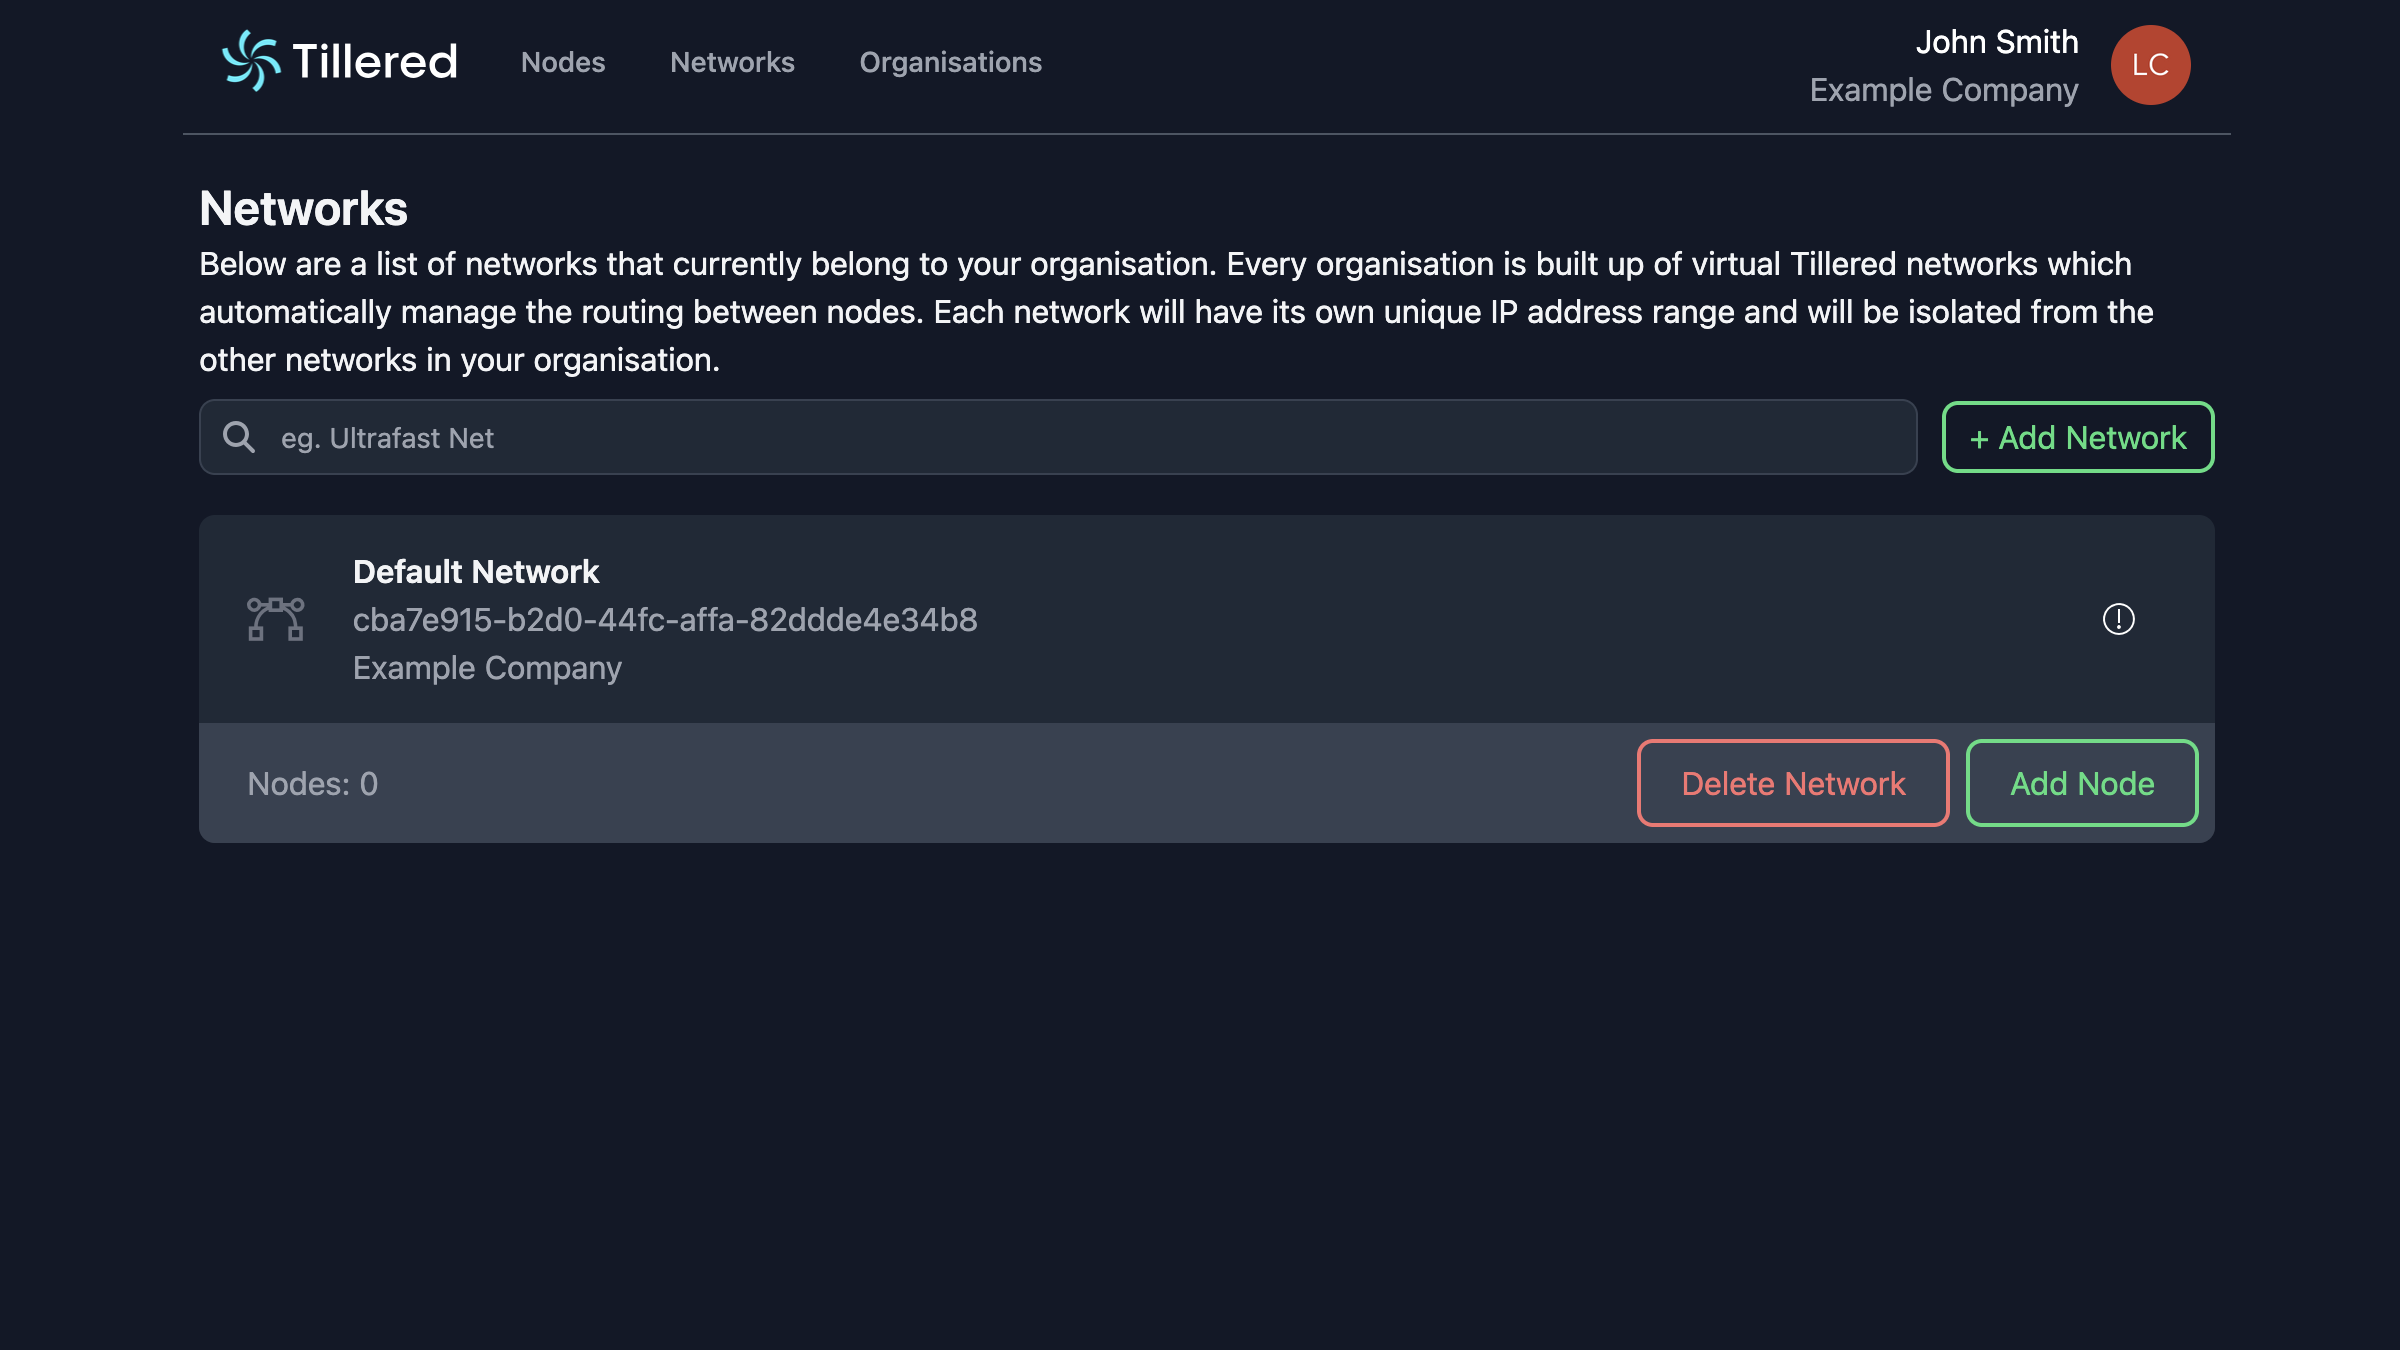
- Select the node type:
- TEN (Tillered Entry Node): For your local network where traffic originates
- CEN (Cloud Exit Node): For a remote server where traffic exits
- FTN (Full Tillered Node): For fully transparent bidirectional networking
- Select the node platform from the dropdown
- Enter a descriptive name for the node
- Enter the instance identifier (see the table below for platform-specific values)
- Enter the validation IP address
- Click Add Node and confirm

Instance identifiers by platform
| Platform | Instance identifier | Example |
|---|---|---|
| Amazon AWS | AWS Instance ID (i- prefix) | i-0123456789abcdef0 |
| Microsoft Azure | VM Computer Name (Tillered FQDN) | 08e2eece-8f1e-4605-8039-63de1cf4c5bf.tillered.net |
| Equinix Metal | Server UUID from the Equinix console | a1b2c3d4-e5f6-7890-abcd-ef1234567890 |
| Proxmox / VMware ESXi | Last 12 characters of the Tillered UUID shown on the node console | abcdef123456 |
| Microsoft Hyper-V | Last 12 characters of the Tillered UUID shown on the node console | abcdef123456 |
| Parallels Desktop | Last 12 characters of the Tillered UUID shown on the node console | abcdef123456 |
Subscription and payment
When adding your first node, you will be asked to confirm starting a monthly subscription. Type Confirm and click Checkout.
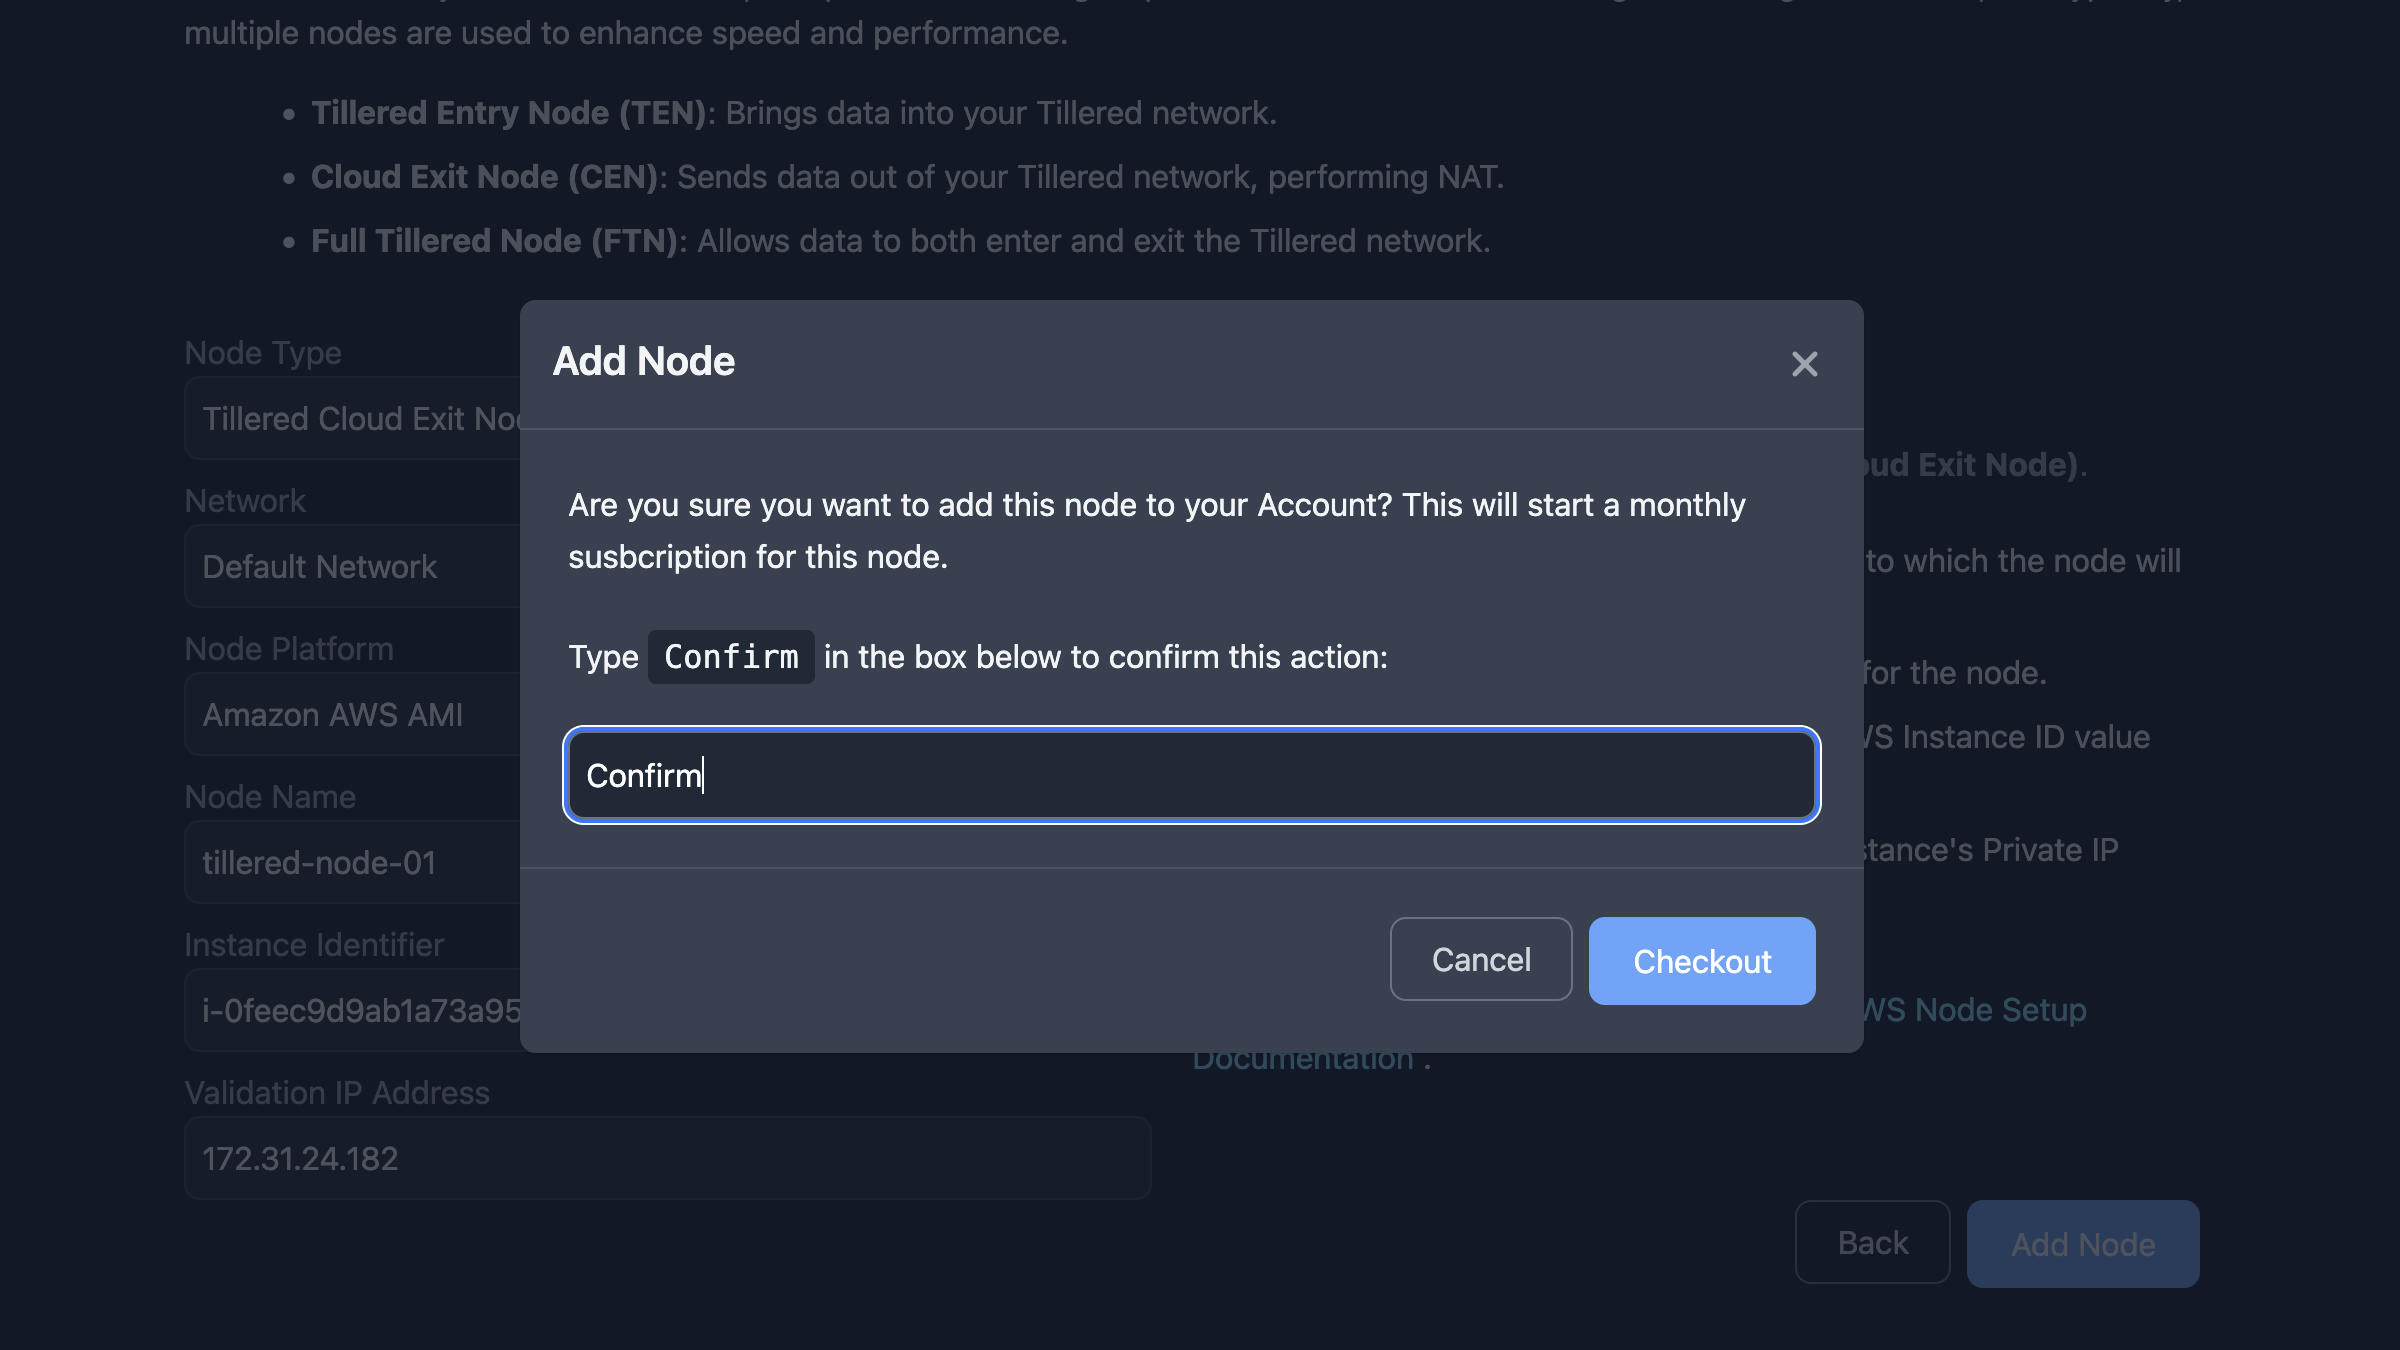
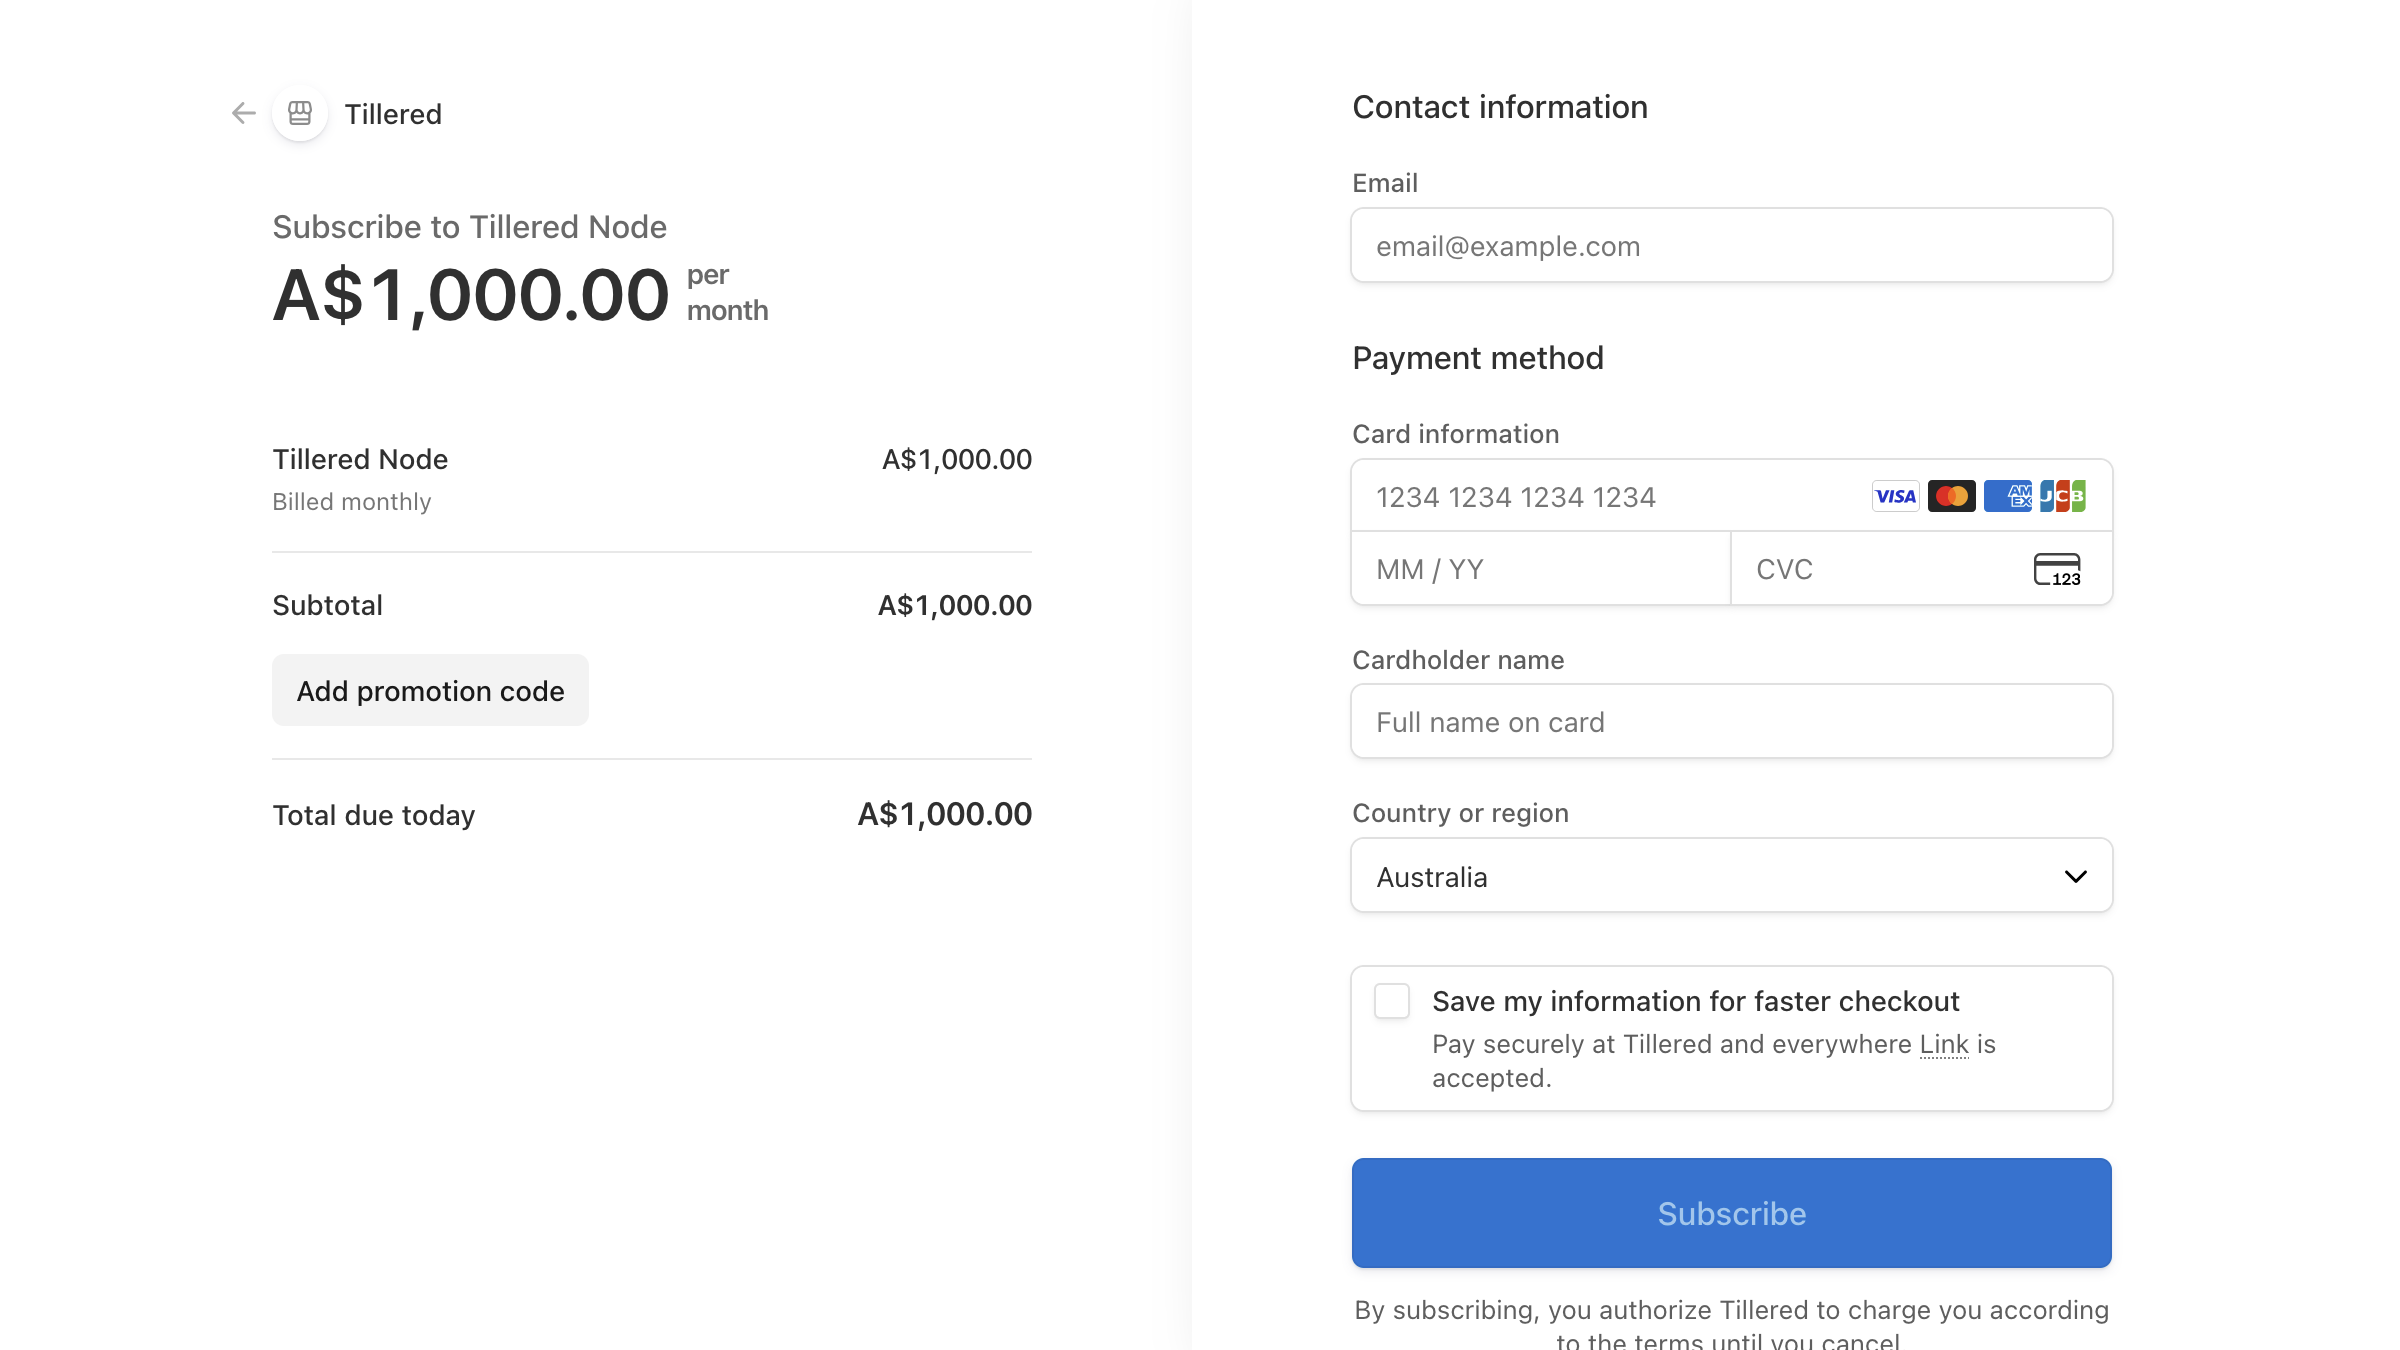
This takes you to Stripe checkout to complete payment.
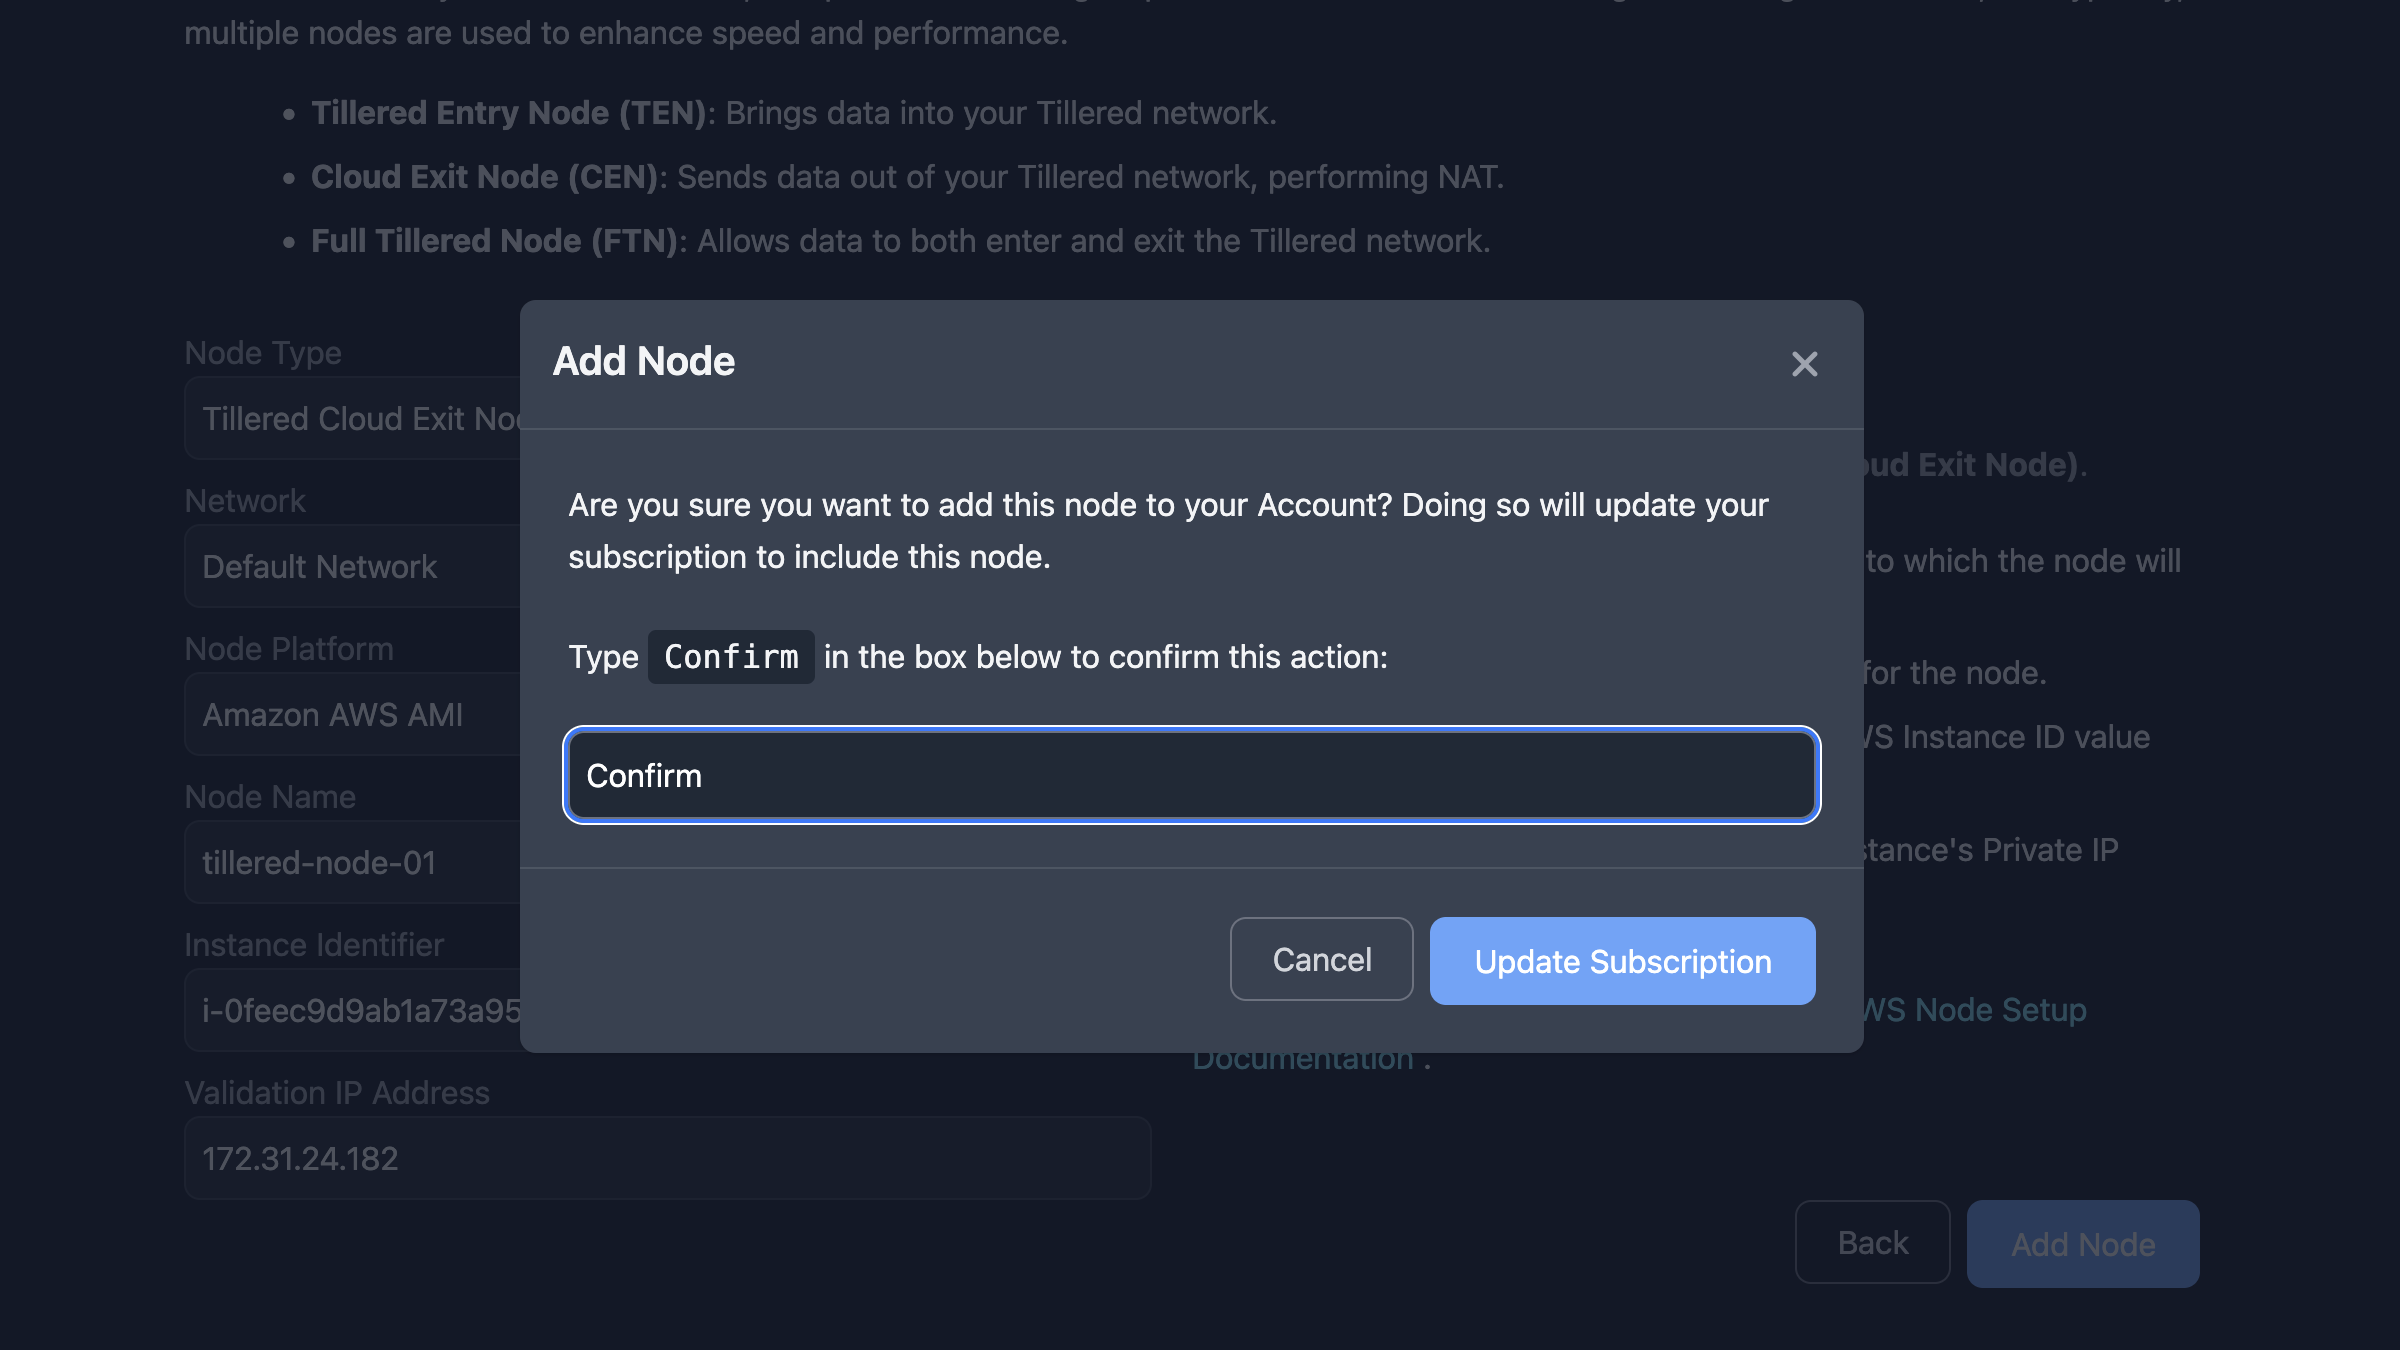
When adding additional nodes to an existing subscription, the dialog asks to confirm updating your subscription instead. Type Confirm and click Update Subscription.
After registration
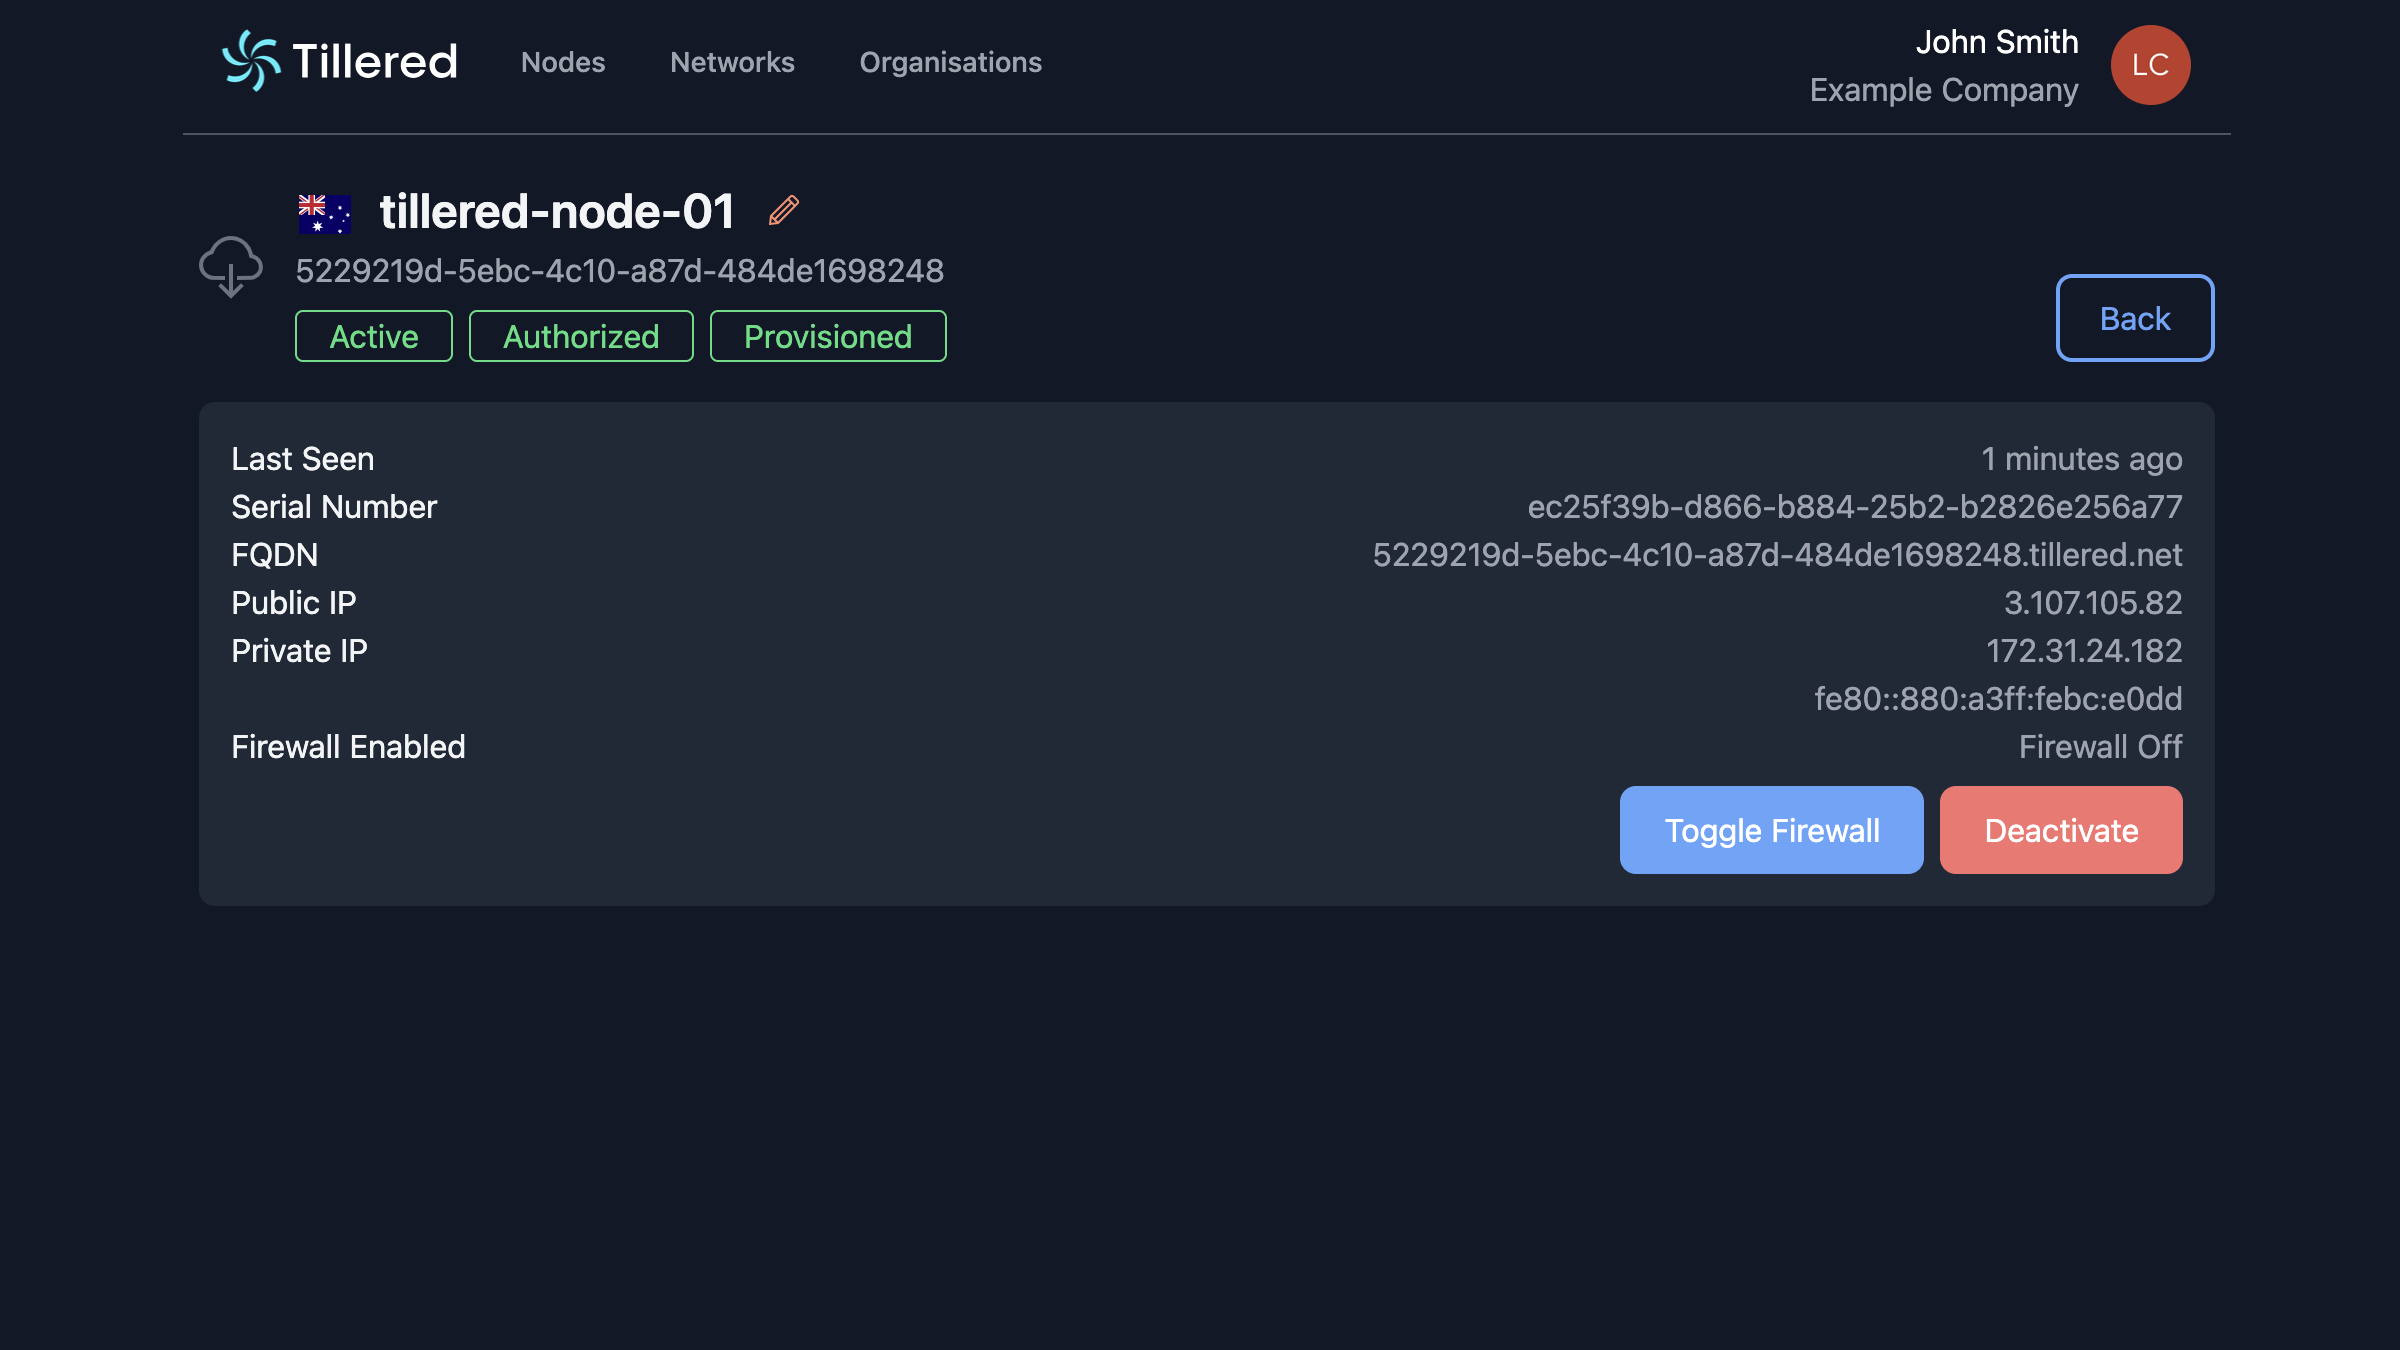
After confirmation, the node overview shows it as Active, Authorized, and Provisioning.

The node configures itself automatically. This process may involve a reboot and typically completes within 5-10 minutes. Once complete, the status changes to Provisioned.
See Managing nodes for status details and virtual interface information.