Appearance
Proxmox
Proxmox is an open-source virtual environment solution with an enterprise plan option. It provides a quick way to set up a server and deploy VMs, especially since VMware ESXi's free version was discontinued in 2024. This guide will help you build and set up a Tillered Node on Proxmox.
Prerequisites
- Ensure the node in Proxmox has internet access and can receive an IP via DHCP or a static IP.
- Create an account on the Tillered Hub.
- Ensure you can SSH into the Proxmox server
Setting Up a Tillered Node
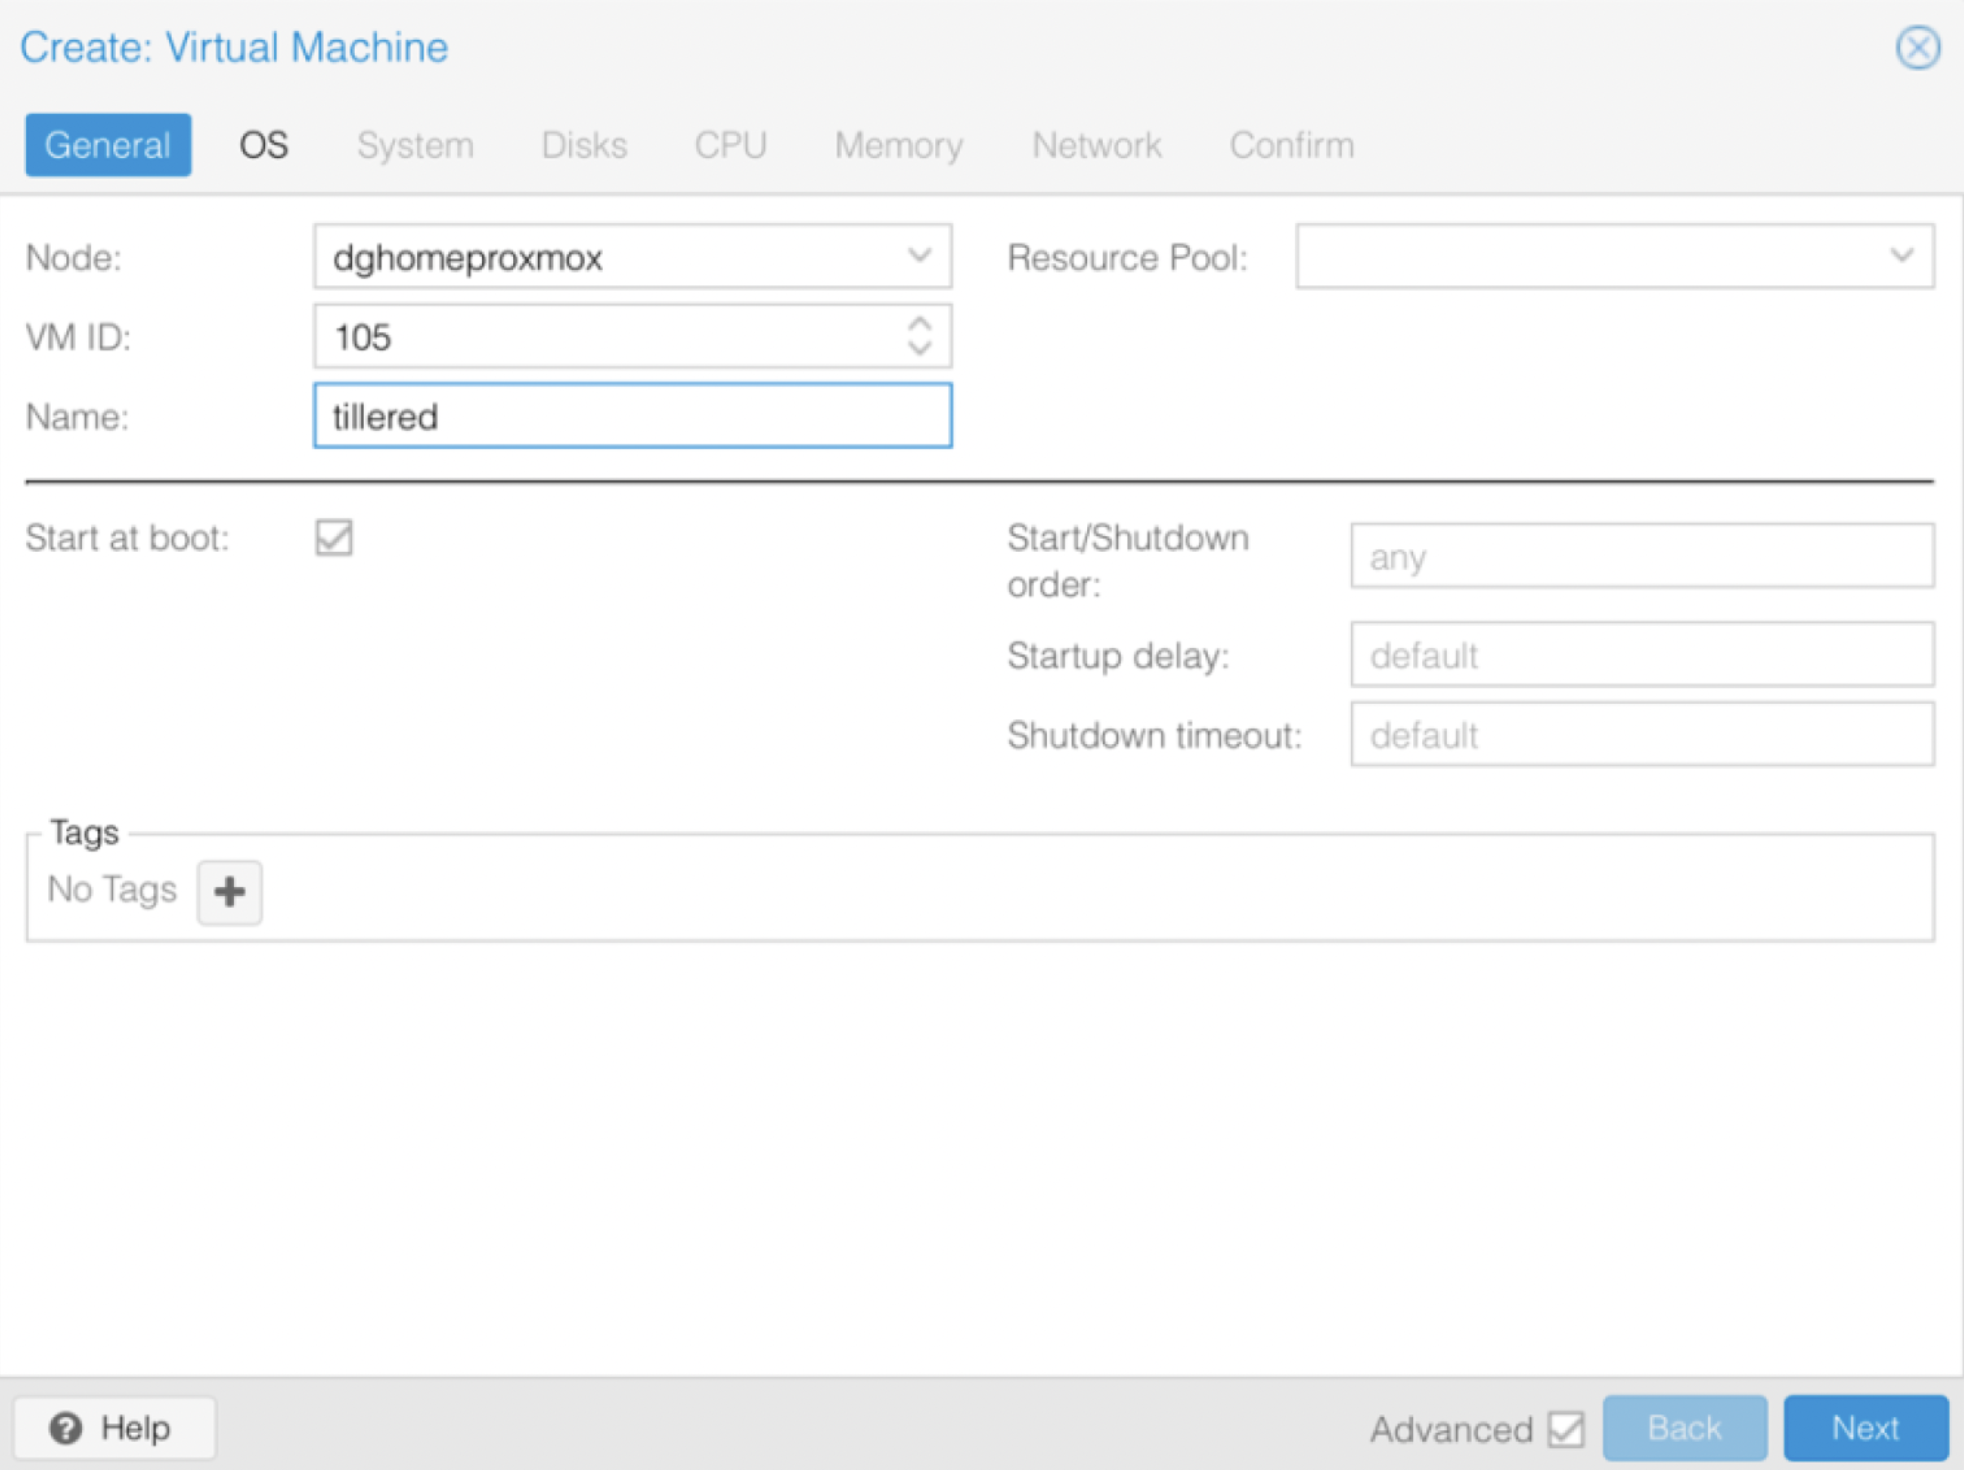
- Open the Proxmox Web Interface and Create a New VM a. Give the VM a name and note the
VM IDnumber (e.g.,105).

- Configure the VM
- OS Tab: Select "Do not use any media" (we will import a disk).
- System Tab:
- Set the Machine to
q35. - Set the BIOS to
OVMF (UEFI). - Tick
Add TPM. - Set TPM Storage to
local-lvm.
- Set the Machine to
- Disks Tab: Delete the
scsi0disk (we will import one later). - CPU Tab:
- Set the Sockets to
4(or2for a smaller VM, noting this affects performance). - Set the CPU Type to
host.
- Set the Sockets to
- Memory Tab: Set Memory to
8 GB (8192 MiB)or4 GB (4096 MiB). - Network Tab: If your DMZ is on a different VLAN, set the VLAN; otherwise, use the Proxmox server's main interface if it's already on the DMZ.
- Confirm: Click Next and Confirm (do not start the VM yet).
- SSH into the Proxmox Server
shell
# Download the disk
wget https://installcdn.tillered.com/tillered.qcow2

# Import the disk onto the VM (use your `VM ID` if different from `105`)
qm importdisk 105 /root/tillered.qcow2 local-lvm- Configure the VM in Proxmox Web Interface
- Click on the VM and select Hardware.
- Select
"Unused Disk 0"and clickEdit, then clickAddto add the disk to the VM. - In Options, edit the Boot Order:
- Enable the
scsi0disk and set it to the highest priority.
- Enable the
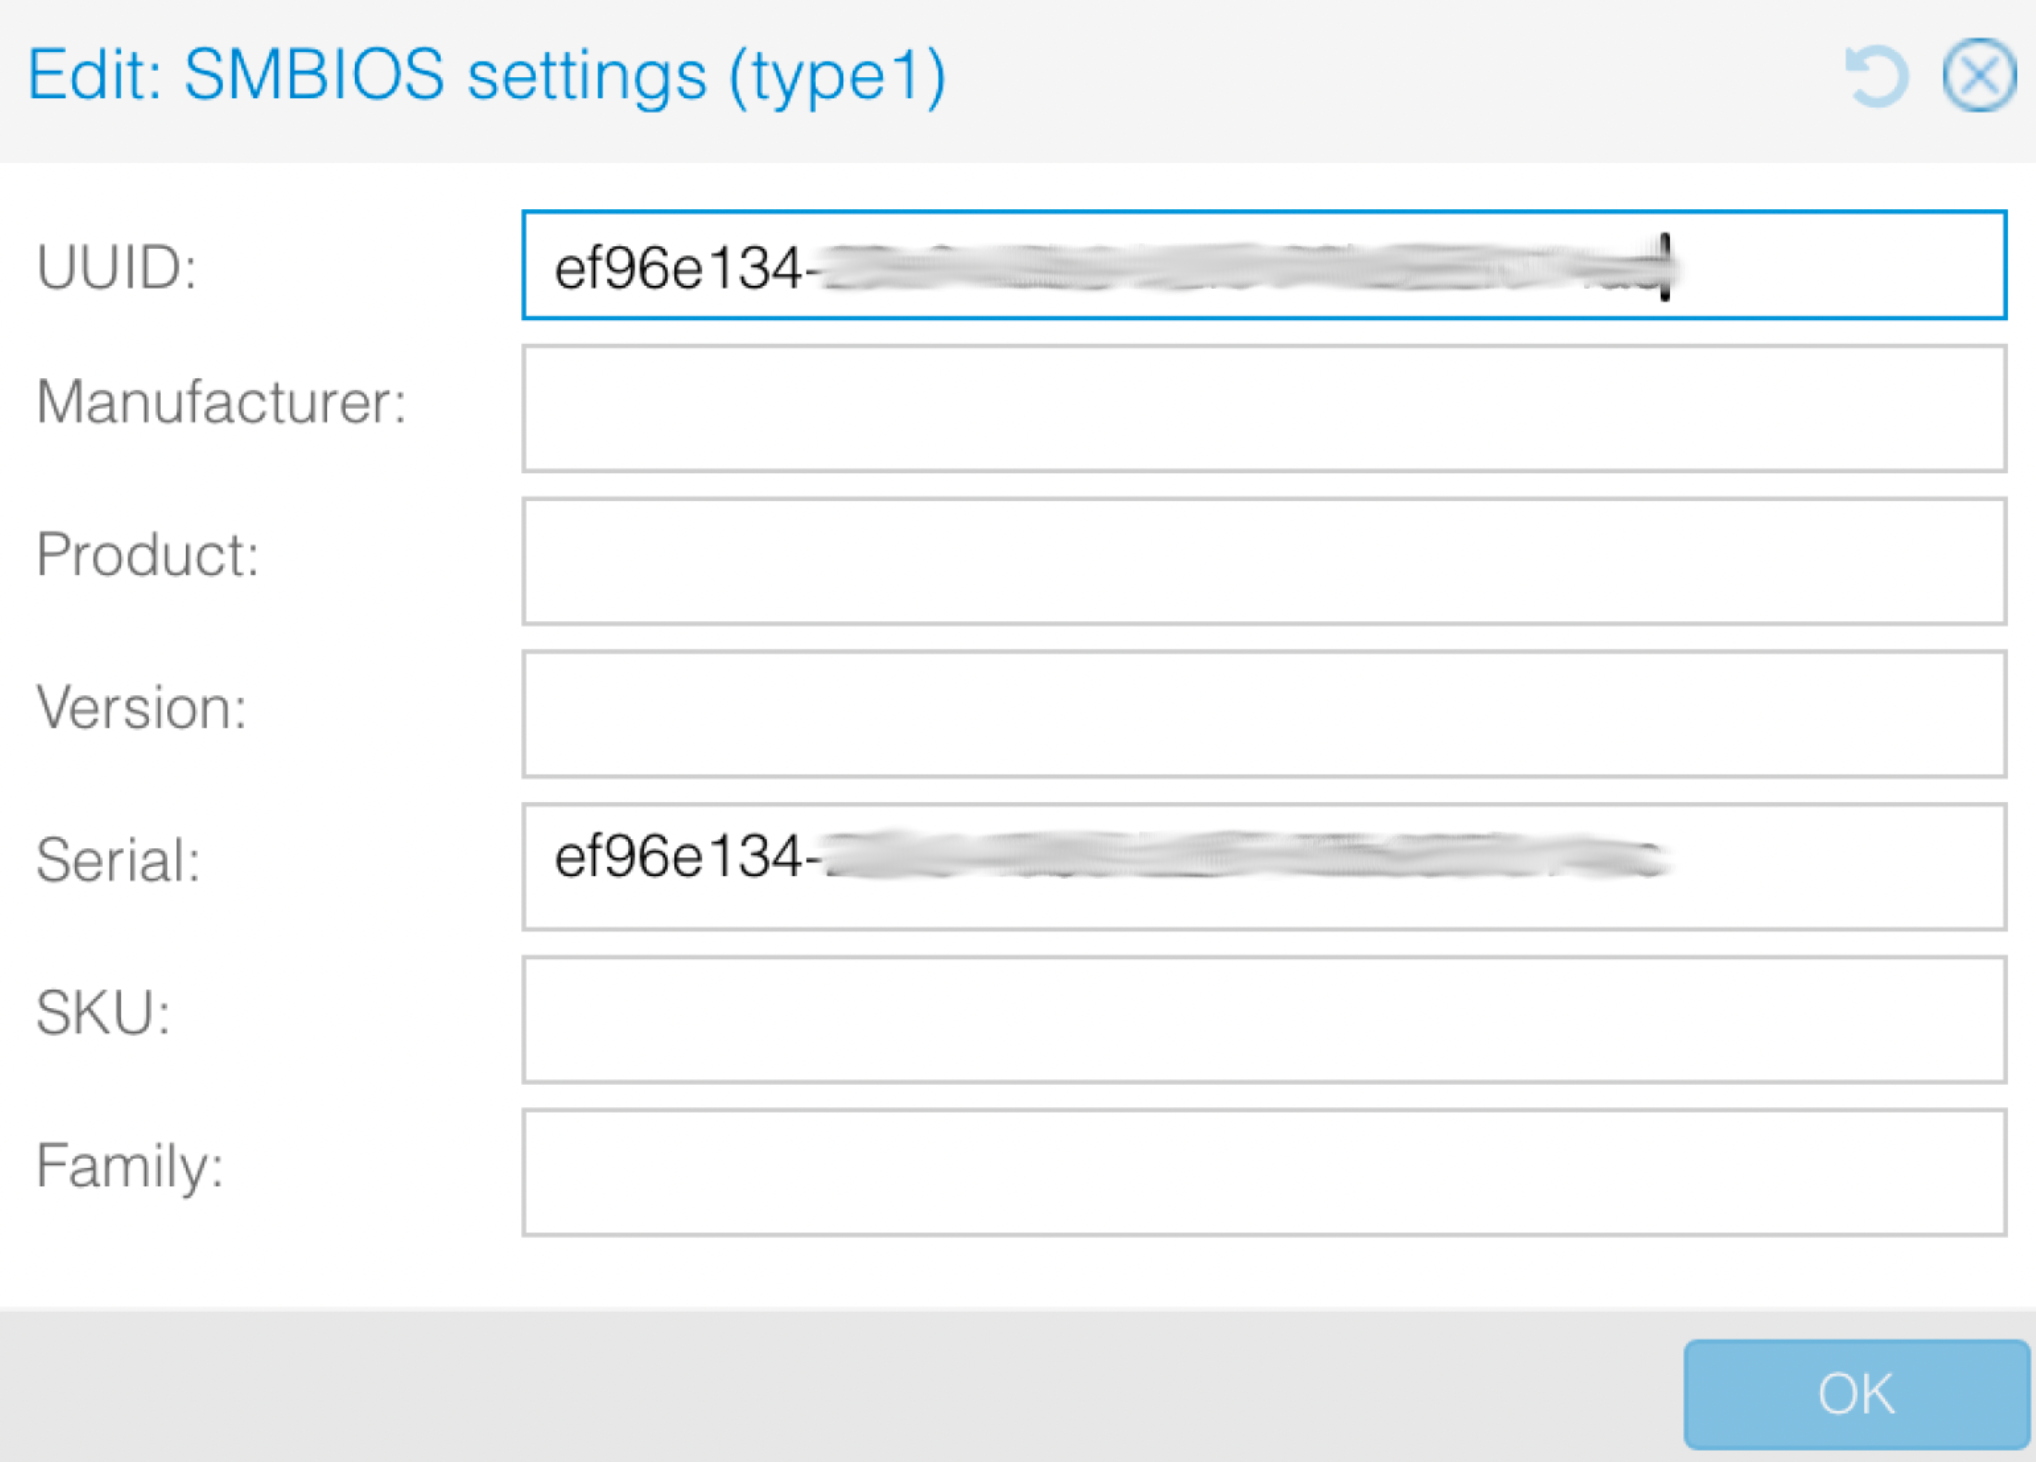
- In Options, click SMBIOS Settings and copy the value in the
UUIDfield to theSerialfield.

- Start the VM
- Let the VM run. It will be ready when the console displays:
Tillered
IP: <its local IP>
<tillered UUID> login:
NOTE
The node is now ready to add to your Tillered Account on the Tillered Hub.
Add Node to Your Tillered Account
- Log in to the Tillered Hub
- If you don't have a network already set up, create a new Network. Otherwise, click "Add Node".
- Set the Node Type:
- TEN: Tillered Entry Node for your local network where you want to route outgoing traffic.
- CEN: Cloud Exit Node for a remote server where you want to route your traffic.
- FTN: Full Tillered Node for a fully transparent network.
- Configure the Node
- Select the Network you want to add the node to.
- Select
VMware ESXi & Proxmoxas the Node Platform. - Name the node descriptively.
- Set the Instance Identifier to the last 12 characters of the
tillered UUIDshown on the node's console. - Set the Validation IP Address to the local IP displayed on the node's console.
- Click Add Node and confirm.

The node will configure itself to the virtual Tillered network. It may reboot during this phase, but it will be ready to use when the Tillered Hub node page shows the node as "Provisioned".